

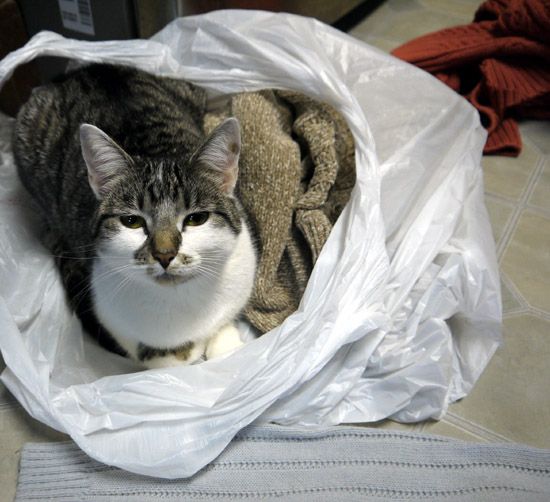
First things first, you'll need a sweater (or four). We bought ours at the local Goodwill, but you can use whatever you've got sitting around - or borrow some from your favorite sweater-hoarding cat!
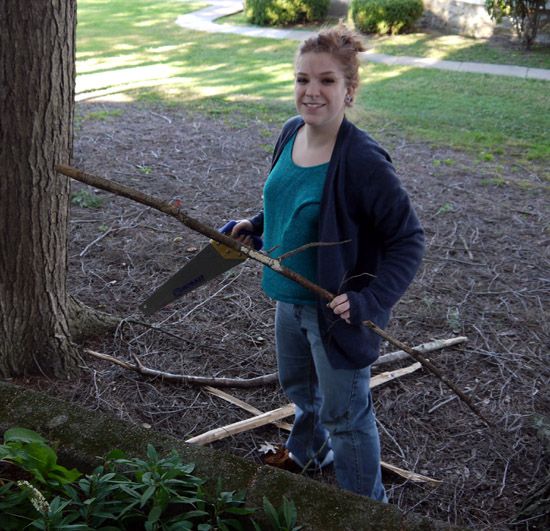
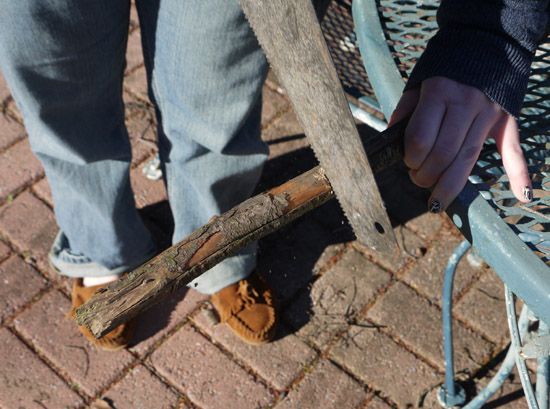
You'll also need some stem-width sticks. What counts as stem-width is entirely up to your personal preference, but we found a nice branch in my neighbor's yard and cut it down to size ourselves. They should be long enough to run the entire way through your pumpkin and still stick out a few inches at the top.
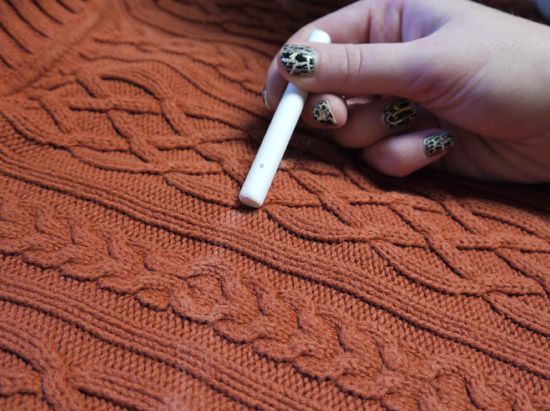
The first real step is to cut out a roughly circular shape from your sweater. Again, the size and shape are all up to you. We wanted larger, rounder pumpkins, so we bought XL and XXL men's sweaters.

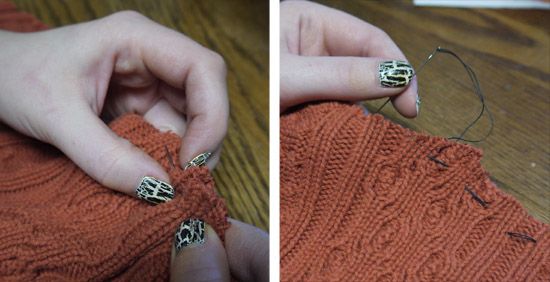
Next you'll want to grab a needle and thread and sew a simple straight stitch all around the outside edge of your circle. You're basically making a big drawstring bag at this point. Your stitches don't need to be anywhere near perfect - you won't be able to see when when you're finished.
Now grab a ball of stuffing and stick it in the middle of your circle. Start pulling your thread like a drawstring to pull the edges in around the stuffing. This might be a two person job - it can be tough to pull it tight enough alone!
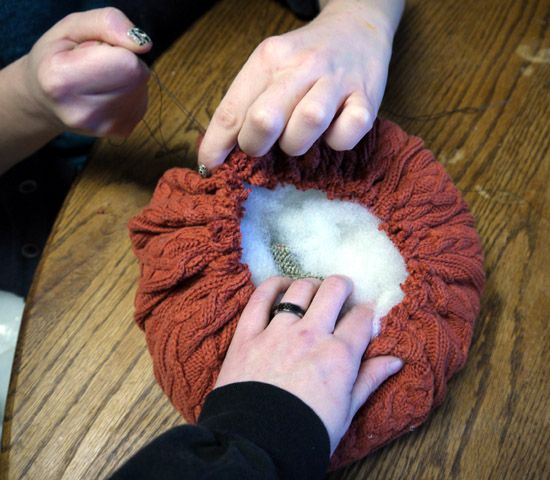
You can see that we stuck some sweater scraps from other pumpkins in there in addition to our stuffing - there are a few reasons for this. Reason 1: why waste it when you can use it? Reason 2: it added some weight to our pumpkins. Reason 3: you'll go through less stuffing this way. Reason 4: it creates a better base to support the stem. We kept the scraps in the center and then padded it out with stuffing to make sure it kept the very soft, round shape we were trying to achieve.
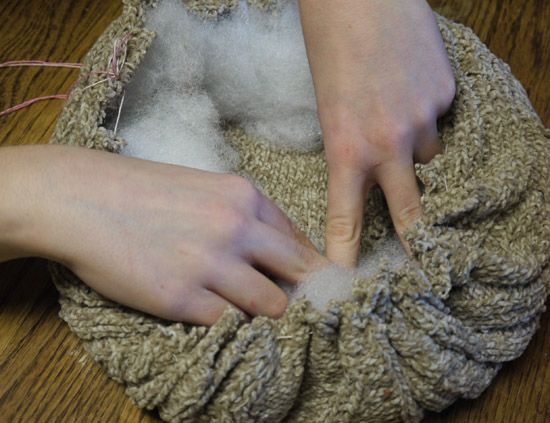
Regardless of whether or not you use sweater scraps as stuffing or not, your next step will be to add your stem. Stick it right in the middle of your stuffing and then pull the drawstring thread tight.

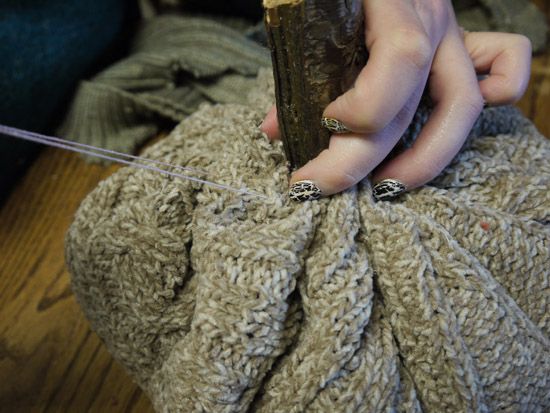
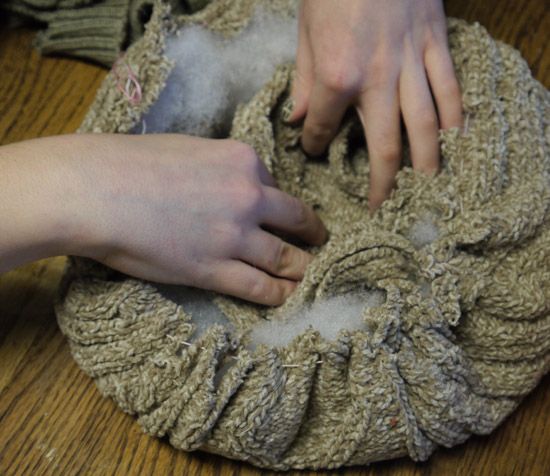
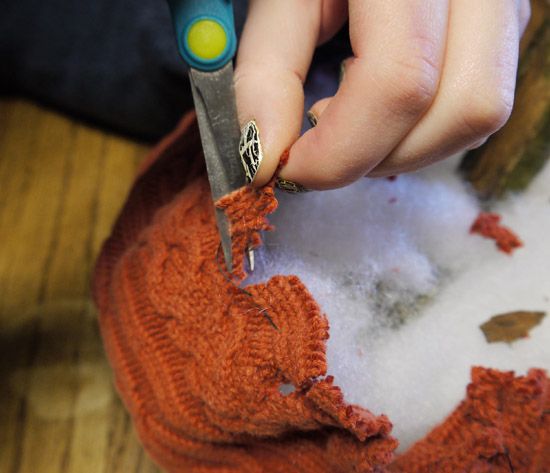
If your sweater is super thick like some of ours were, you might have a hard time pulling it tight enough to meet the stem. This is easily fixed by trimming the excess fabric away from between your stitches. Just keep trimming until you can pull it tight - you will not be able to see these cuts at all when you're finished.

If you want to add some hot glue on the inside to keep everything in place you can, but we didn't bother. Unless you're planning on carrying them around a lot, there really isn't any point. And that's it - you're done! Cheap and easy sweater pumpkins!

I hope you enjoyed our foray into the world of crafts!

Thanks so much for sharing your cute sweater pumpkins at my party...you will be featured at next weeks party.
ReplyDeleteBlessings,
Linda
Thank you so much!!!
Delete