Wednesday, October 29, 2014

Meals With Mom - Graveyard Cake

Welcome to the first installment of Meals With Mom - another new monthly feature here on Proper Wolf.  This month we are making a spooky graveyard cake for Halloween!


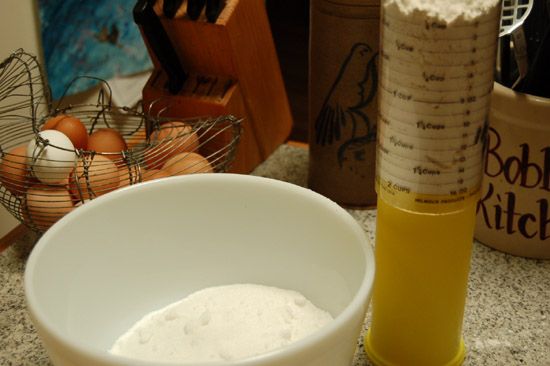
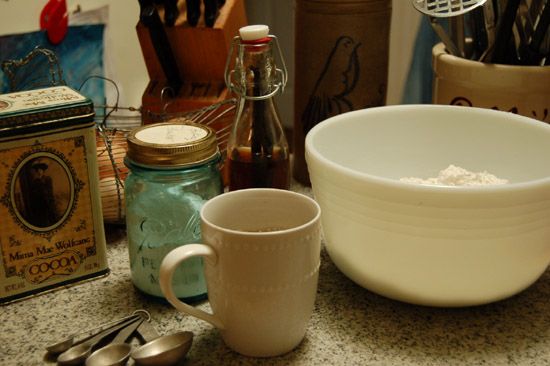
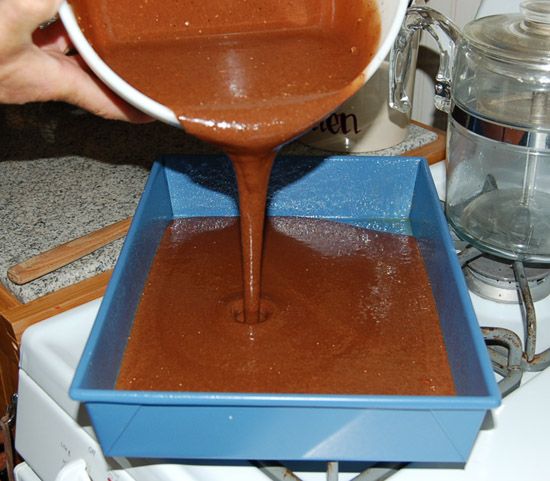
First things first, you'll need to make a cake.  We made a black midnight cake (which is an old Pennsylvania Dutch recipe), but you can pretty much use whatever kind of cake you like best. 


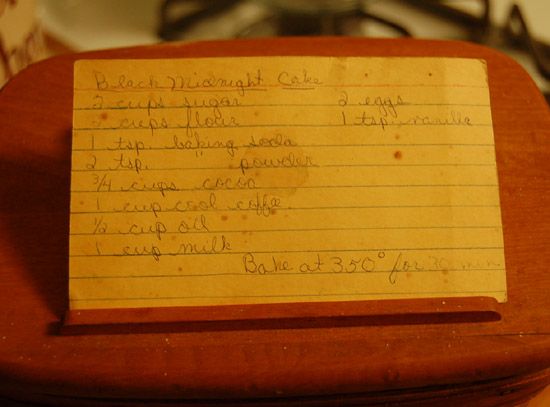
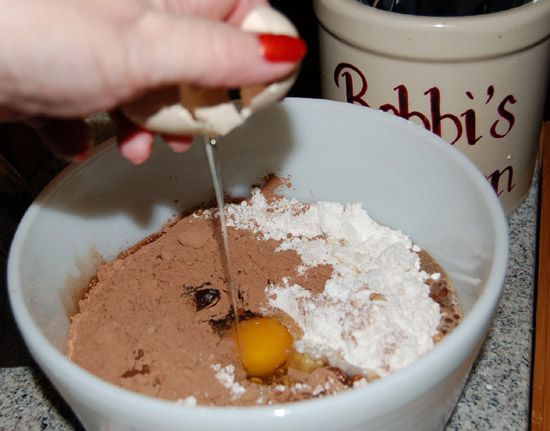
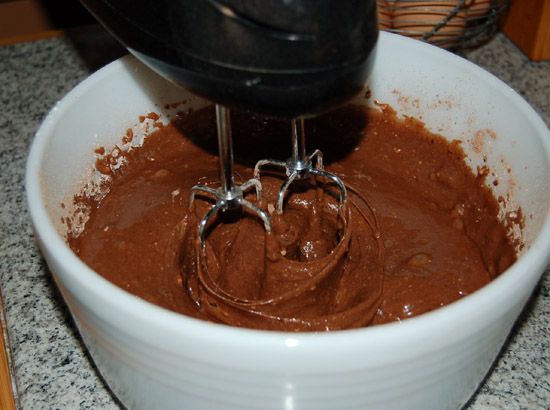
If you do decide to use this recipe for black midnight cake, keep in mind that your cake batter will be very watery.  That's okay, it's supposed to look like that.  Don't worry - you didn't screw anything up!


Don't our parents have the most beautifully rustic kitchen supplies?  I mean seriously - they've got homemade vanilla extract!
 

Okay, so now you've got a nice cake, fresh from the oven.


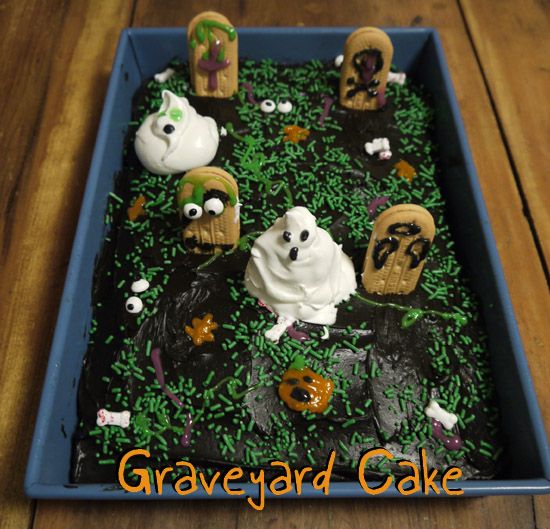
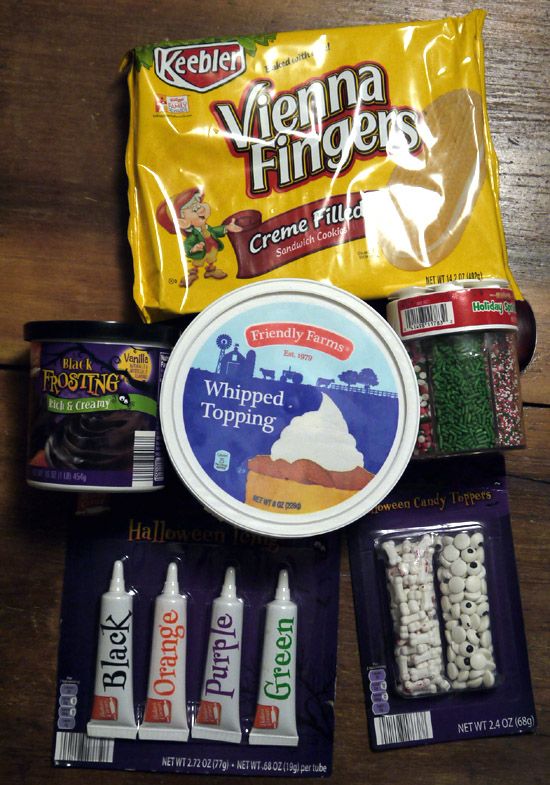
Go gather some cake decorating supplies.  You'll need, at the very least, some Vienna Fingers, whipped topping, and a base coat of icing.  We also got some tubes of colored icing and some decorative bones/eye ball candies at our local Aldi.


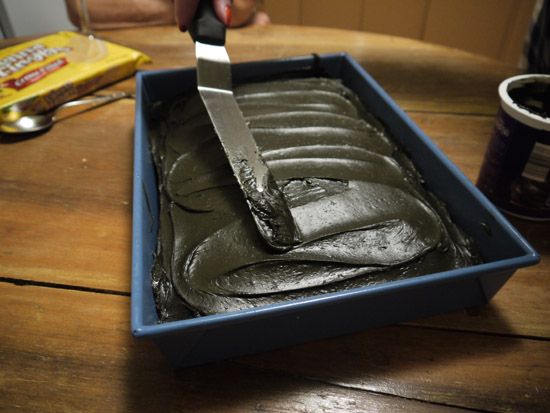
Now give that cake a nice thick coating of icing.  We used black, but you could use brown or green as well.  This is going to be the dirt for your graveyard.


Next, add some grass.  We used green sprinkles/jimmies.


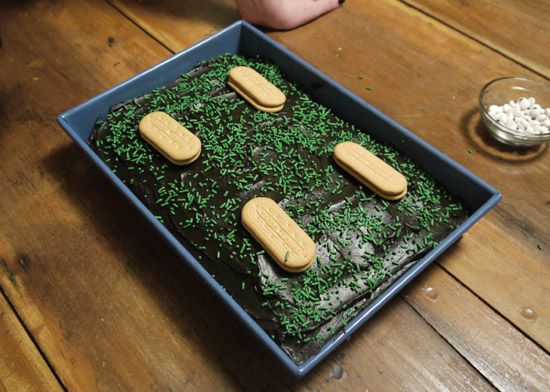
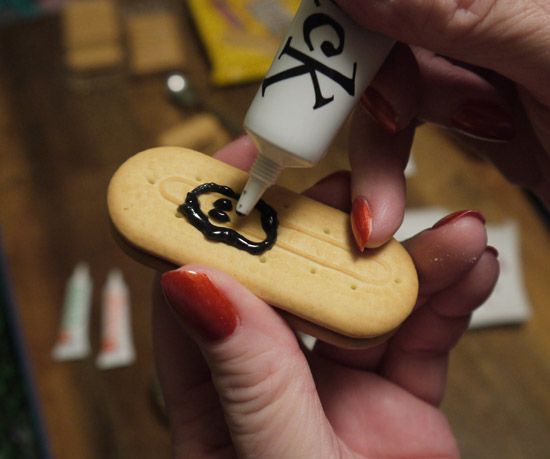
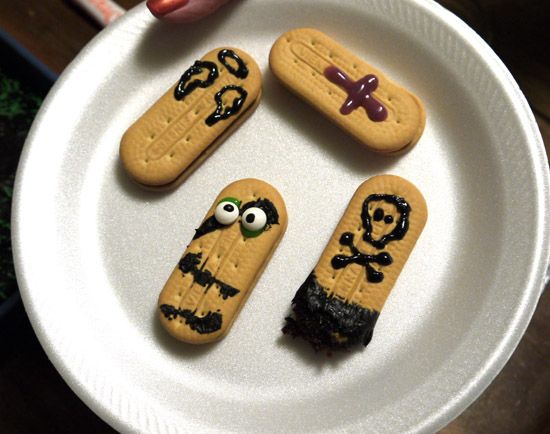
If you want to write on your "tombstones", that should be your next step.  We put them in the fridge so they'd harden up and not drip when we stuck them in the cake.


Decorate your graveyard however you like.  We made a pumpkin, some leaves, some vines, and some worms.  We also added some of the bone and eye ball candies.


Now add your cookie tombstones and a few dollops of whipped topping ghosts.  We painted faces on our ghosts with the tube of black frosting, and added creepy green and purple ooze to the tombstones.


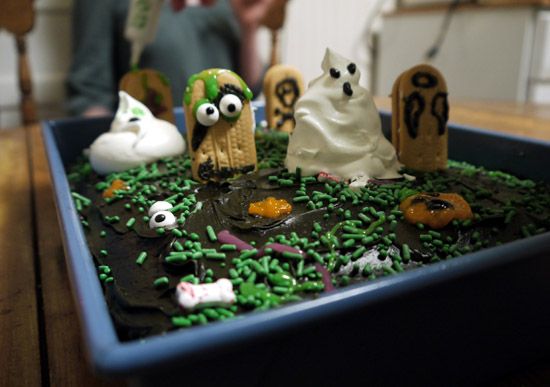
Ta-da!  You're finished!  Enjoy your creepy Graveyard Cake!

Thursday, October 9, 2014

Drinks With Dad - Candy Bar Martini


Today (Kylie's birthday!) we're introducing a new feature that we're hoping to do every month, and it is called Drinks With Dad.  The concept is pretty simple - each month we'll make a new mixed drink with our dad, Kevin.


This month's drink is based on his favorite candy bar, the Snickers.  If you'd like to watch us make this drink with our dad, simply watch this video.  Otherwise, continue reading for step by step instructions.


 To make this drink you'll need:

  • chocolate milk
  • caramel vodka
  • butterscotch schnapps
  • caramel sauce
  • crushed peanuts


You could probably make this in a glass and stir it up, but we used a shaker and it worked out great.  The instructions are pretty easy: simply pour 1/2 part butterscotch schnapps,  1 part vodka, and 2 1/2 parts chocolate milk into your shaker and shake vigorously.


To replicate our snazzy presentation, drizzle some caramel sauce into the bottom and sides of your glass.  Use more caramel to lightly coat the rim of your glass, and then dip the coated edge into the crushed peanuts.  The sweetness of the caramel and the saltiness of the nuts really adds to the flavor of the drink.


Enjoy!

Monday, October 6, 2014

Halloween Nails


We're getting into October now and you know what that means - it's time to make everything spooky!  These easy Halloween manicure ideas are sure to add some eerie cheer to your day.


Spiderweb:
1. Optional, apply clear base coat.
2. Apply purple along the tip of the nail as if applying a french nail. Allow nails to dry between any extra coats needed to achieve solid color.
3. Use a toothpick, nail art brush, or line paintbrush to paint 3 long, straight lines on each nail. Connect the lines with a concave line to make web.
4. Apply a clear or clear with sparkle top coat.


Pumpkin
1. Optional, apply a clear base coat.
2. Apply orange to all nails. Allow to dry and apply as many coats as needed.
3. Use a toothpick, nail art brush, or line paint brush to add pumpkin faces in black. Be creative, it's like getting to carve 10 mini pumpkins without the mess!
4. Apply a clear top coat.


Tips
- use a q-tip dipped in polish remover to remove any mistakes along the nail edge or to clean up the "french" tip.
- french manicure nail guides can be used if you have trouble free handing.
- scotch tape can be used for any of the nail art for super clean lines, just make sure the nails are COMPLETELY dry before applying the tape.
- check for dryness by very gently touching two nails together, if there is any resistance or stickiness they are not fully dry. 

Thursday, October 2, 2014

Sycamore Springs Fall Open House 2014

On Saturday, we attended the fall open house at Sycamore Springs.  They had tons of great decorating ideas for the upcoming fall holiday season.  There were beautiful autumnal wreaths and other leafy arrangements:


 There were also a few different tablescapes to serve as inspiration.


Check out this cute little guy!


 Kylie loved the adorable birds made from rustic natural materials.


 And Kera ended up taking one of these beautiful vases home with her.


There was also a wide variety of general fall decor.


There were also tons of pumpkins and gourds available.

And what open house would be complete without a delicious spread of hors d'oeuvres, desserts, and wine?


We had a great time and can't wait until the winter open house!