Friday, November 21, 2014

Drinks With Dad - The Pagoda

This month's drink is our take on my dad's favorite drink from a local restaurant called Klinger's on Carsonia.  It's festive and cinnamon-y and perfect for cold winter (or autumn) nights.  It is named after The Pagoda - a somewhat bizarre but super awesome local landmark.


This one is a lot less involved than our last drink recipes.  You can watch us make it here or keep reading for further instructions.


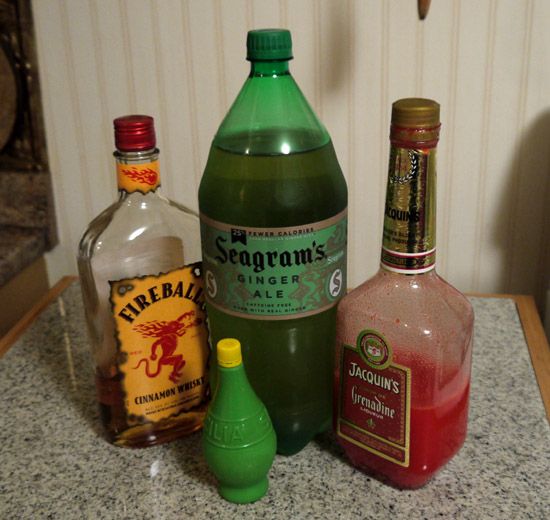
To make this drink you'll need:

Simply fill a lowball glass with ice and add the first three ingredients.  Then fill the rest of the glass with ginger ale, stir with a straw, and enjoy!

Tuesday, November 18, 2014

Sycamore Springs Holiday Open House 2014

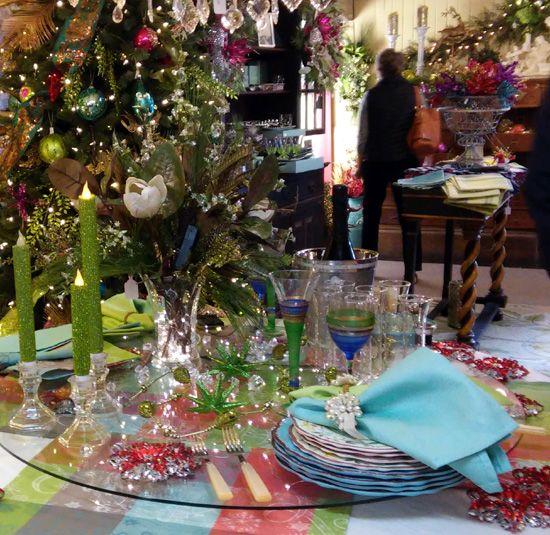
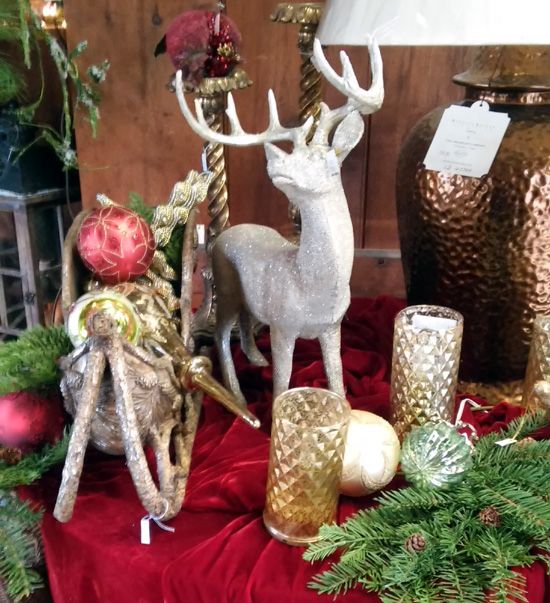
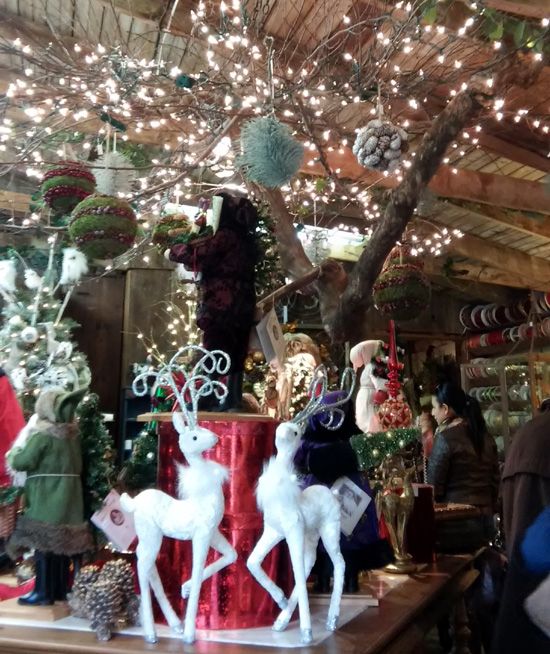
This year's open house at Sycamore Springs was just as amazing as ever!  There were tons of beautifully decorated Christmas trees.


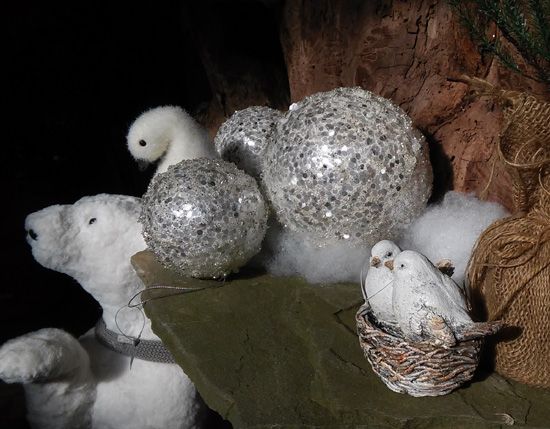
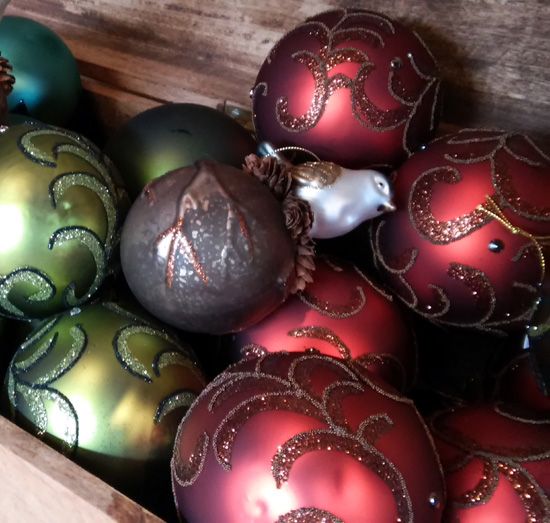
And what would Christmas be without glittery ornaments?


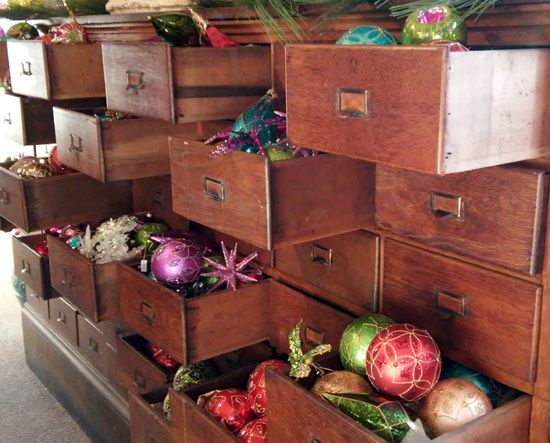
We especially loved these glass ornaments displayed in an old apothecary cabinet / library card catalog.


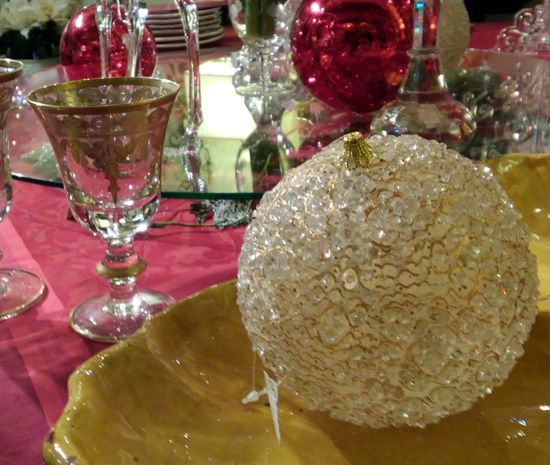
There were also several tablescapes from which to draw inspiration.


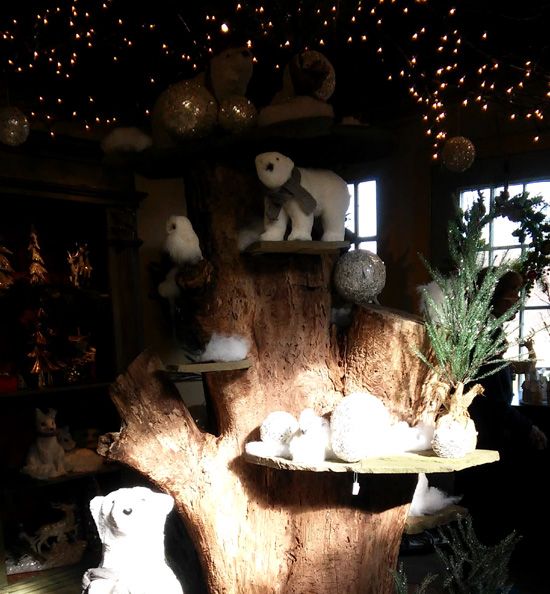
Kylie loved the woodland animals.


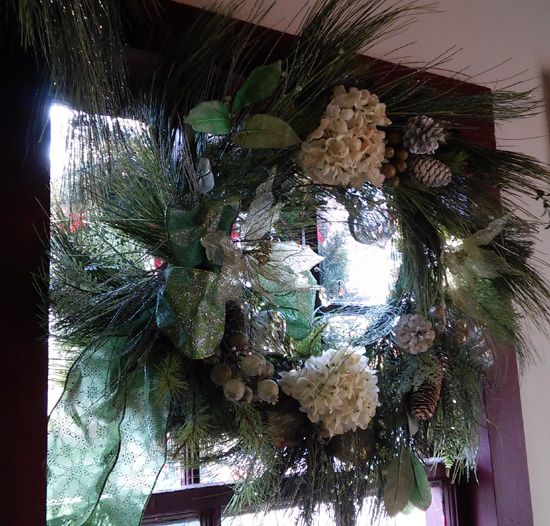
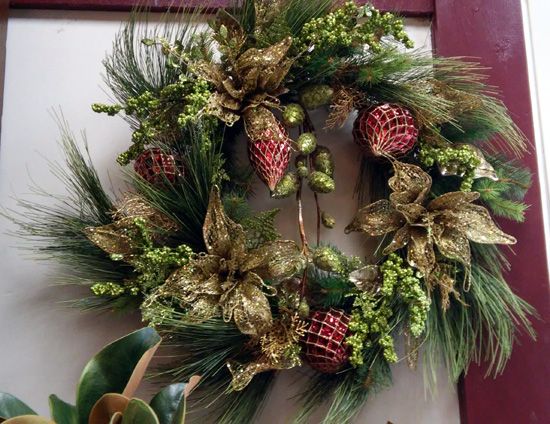
Kera preferred the elegant Christmas wreaths.


All in all, it was a lovely afternoon spent at one of our favorite local shops.


Friday, November 14, 2014

Milk and Honey Oatmeal Mask

Need a moisturizing and exfoliating mask, but you're short on time and money?  We can help!


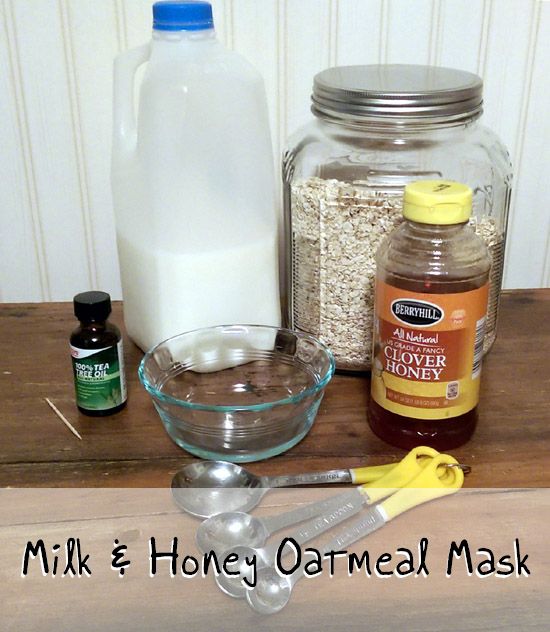
First, gather your ingredients - it doesn't take much!  For two masks, you'll need:
  • 1 tbsp oats
  • 2 tsp milk
  • 2 tsp honey
  • 1 drop tea tree oil (optional)
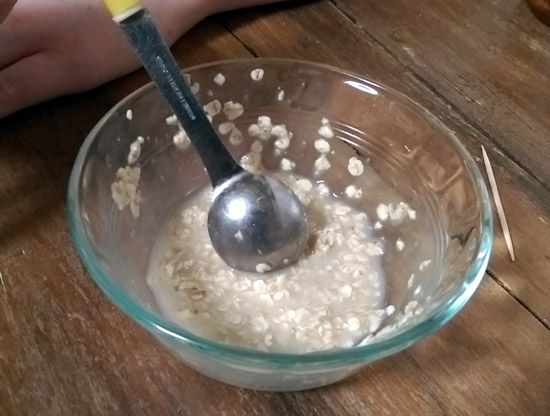
Mix the oats, milk and honey together.   It should be slightly watery and smell very delicious.


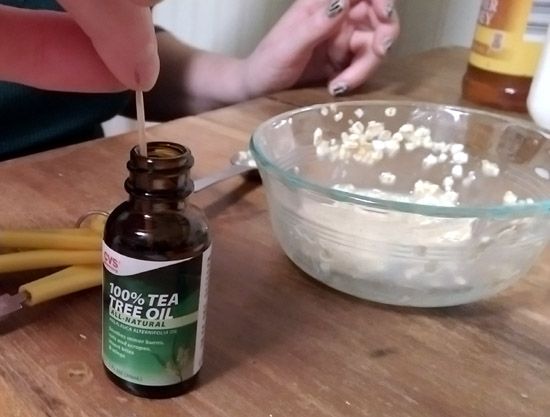
If you want to add some tea tree oil, just use a toothpick to deposit a tiny drop into the oatmeal mixture.  A little bit of tea tree oil goes a long way!


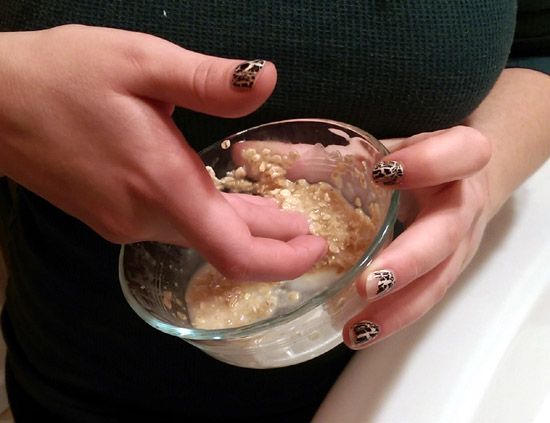
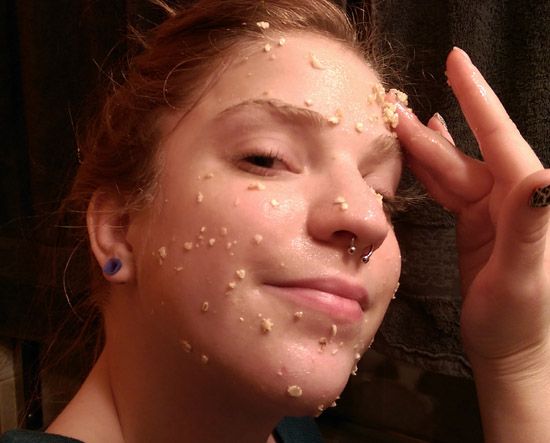
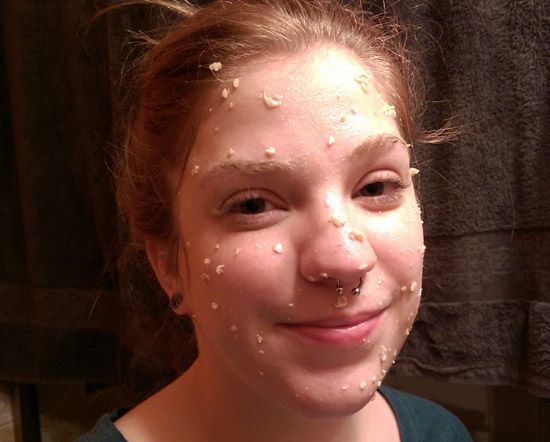
Now simply apply it to your face with your hands.  It's pretty messy, so you might want to do this step over the sink.


The oats will exfoliate and calm while the milk adds moisture and the honey works as a humectant (that's just a fancy way of saying it helps to hold in moisture).  The tea tree oil has natural antibacterial and anti-fungal properties, so it is great for treating and preventing acne.


Once the mask is applied, keep it on until it starts to feel tight and itchy.  Then simply rinse it away and enjoy your fresh and invigorated skin!


Linking Up At:

Tuesday, November 11, 2014

Sister Style - November

It was pretty cold this weekend, but that didn't stop us from venturing out.  This month we traveled up Mt. Penn to take some photos near the Fire Tower.  The fall foliage is on its way out, but it was still quite lovely up there above the city.


By the end of the day, though, we were quite ready to get back home!


Linking Up At:

Friday, November 7, 2014

Easy DIY Sweater Pumkpins Tutorial

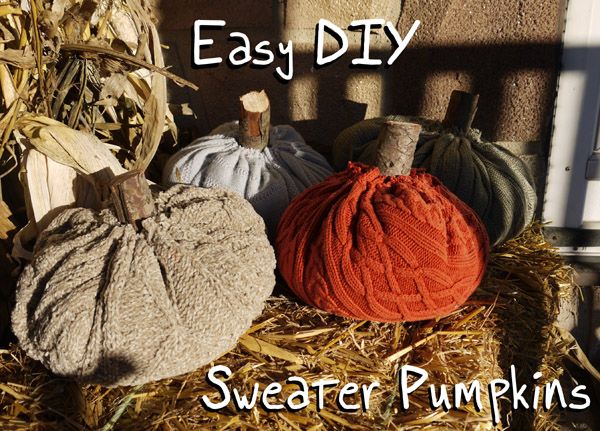
Back when we visited Sycamore Springs' fall open house, Kylie and I both fell in love with the sweater pumpkins we saw there.  Since we are both extremely thrifty, we decided to try our hand at making some ourselves.  I'm pleased to announce that it went rather well!

Easy DIY Sweater Pumpkins

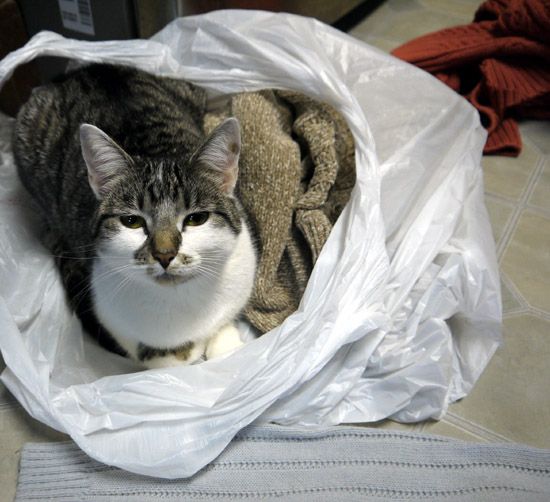
First things first, you'll need a sweater (or four).  We bought ours at the local Goodwill, but you can use whatever you've got sitting around - or borrow some from your favorite sweater-hoarding cat!


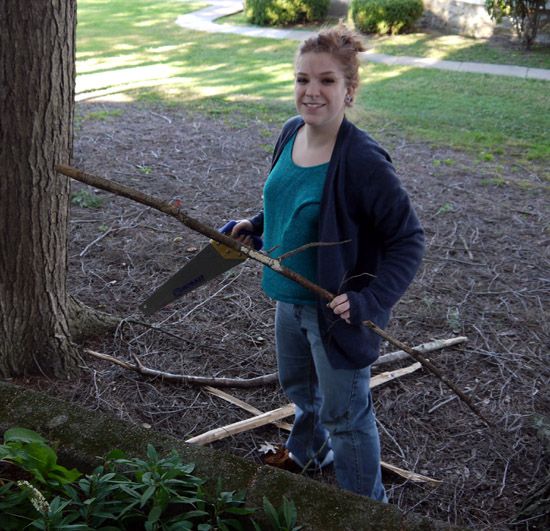
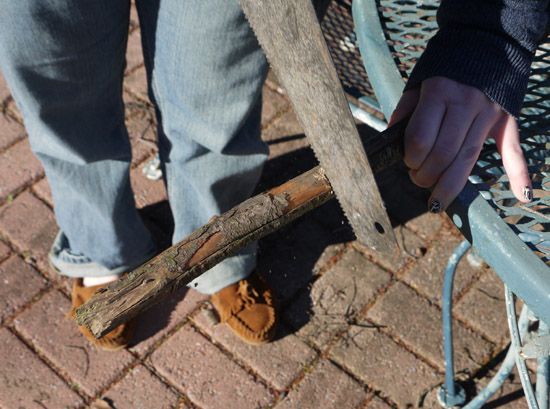
You'll also need some stem-width sticks.  What counts as stem-width is entirely up to your personal preference, but we found a nice branch in my neighbor's yard and cut it down to size ourselves.  They should be long enough to run the entire way through your pumpkin and still stick out a few inches at the top.


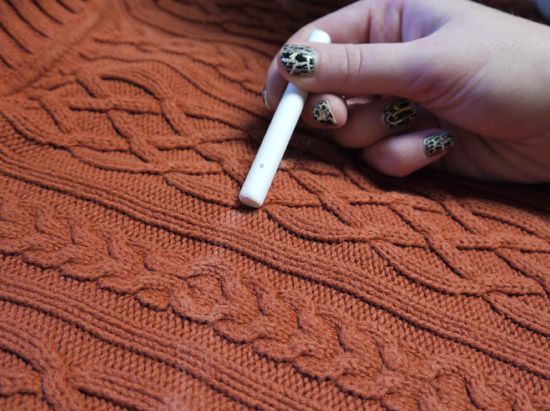
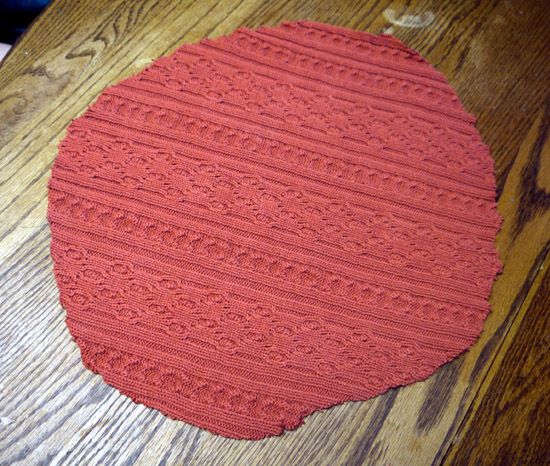
The first real step is to cut out a roughly circular shape from your sweater.  Again, the size and shape are all up to you.  We wanted larger, rounder pumpkins, so we bought XL and XXL men's sweaters. 


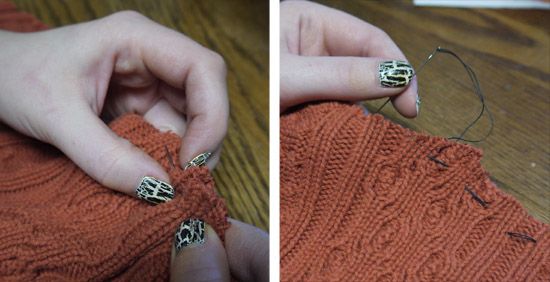
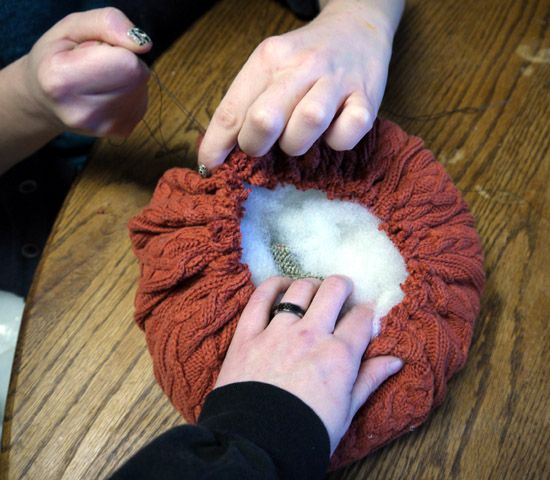
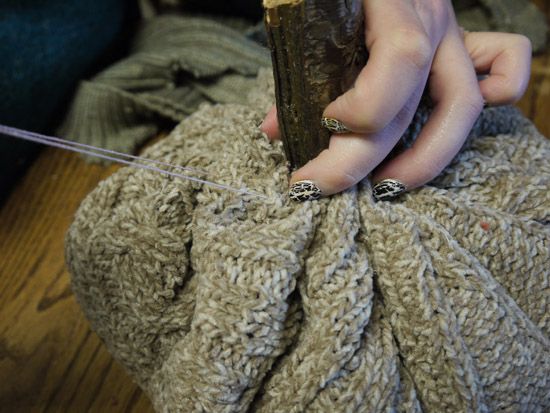
Next you'll want to grab a needle and thread and sew a simple straight stitch all around the outside edge of your circle.  You're basically making a big drawstring bag at this point.  Your stitches don't need to be anywhere near perfect - you won't be able to see when when you're finished.


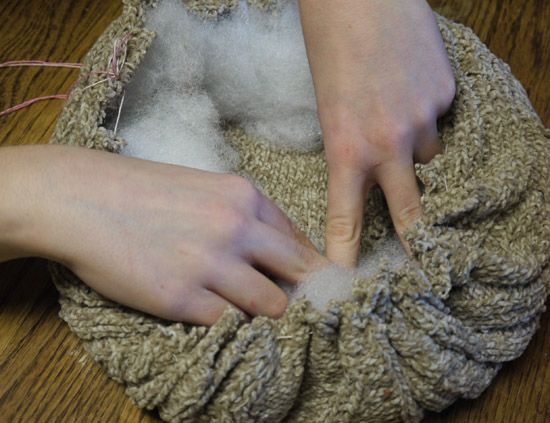
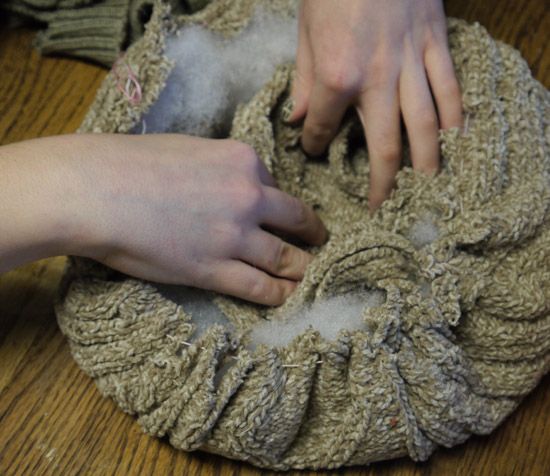
Now grab a ball of stuffing and stick it in the middle of your circle.  Start pulling your thread like a drawstring to pull the edges in around the stuffing.  This might be a two person job - it can be tough to pull it tight enough alone!


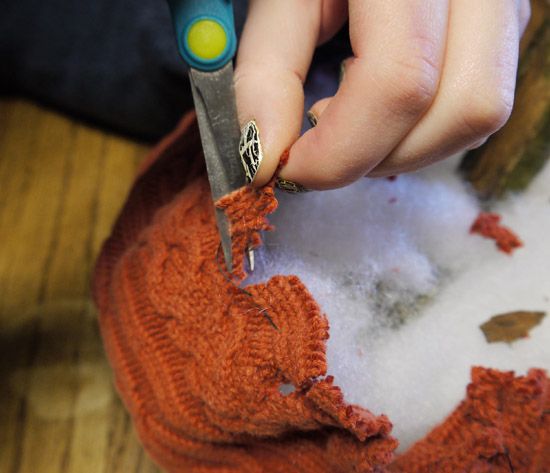
You can see that we stuck some sweater scraps from other pumpkins in there in addition to our stuffing - there are a few reasons for this.  Reason 1: why waste it when you can use it?  Reason 2: it added some weight to our pumpkins.  Reason 3: you'll go through less stuffing this way.  Reason 4: it creates a better base to support the stem.  We kept the scraps in the center and then padded it out with stuffing to make sure it kept the very soft, round shape we were trying to achieve.


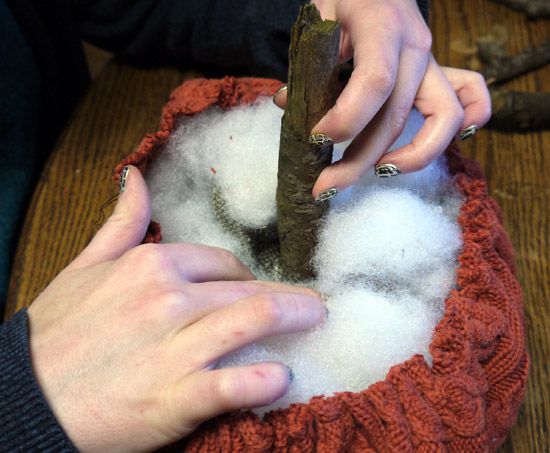
Regardless of whether or not you use sweater scraps as stuffing or not, your next step will be to add your stem.  Stick it right in the middle of your stuffing and then pull the drawstring thread tight.


If your sweater is super thick like some of ours were, you might have a hard time pulling it tight enough to meet the stem.  This is easily fixed by trimming the excess fabric away from between your stitches.  Just keep trimming until you can pull it tight - you will not be able to see these cuts at all when you're finished.

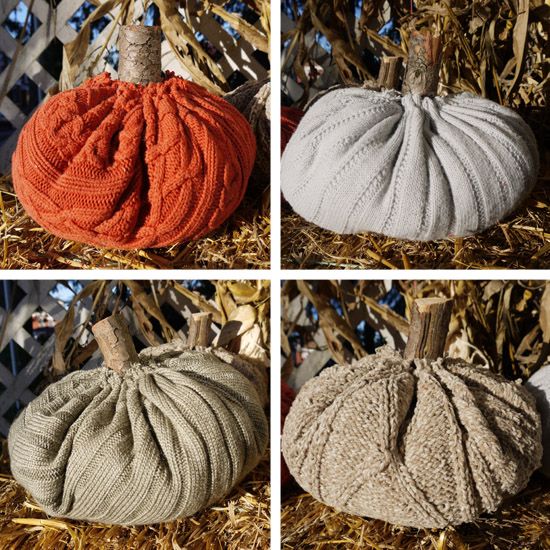
sweater pumpkins

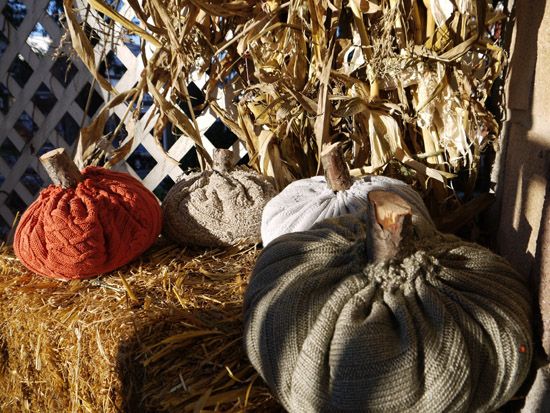
If you want to add some hot glue on the inside to keep everything in place you can, but we didn't bother.  Unless you're planning on carrying them around a lot, there really isn't any point.  And that's it - you're done!  Cheap and easy sweater pumpkins!
sweater pumpkins

I hope you enjoyed our foray into the world of crafts!