Showing posts with label Thanksgiving. Show all posts

Wednesday, November 16, 2016

Easy DIY Dollar Store Floral Thanksgiving Centerpiece


A while back, I read an article stating that a great way to make your house a happier place is to display fresh flowers.  Well, I tried this and I learned one thing - whoever wrote that article does not have four bad cats!  After the third cycle of mopping up water and rearranging half-eaten buds, I realized that this tip is simply not going to work for me.

I thought about using fake flowers, but one look at the prices at my local craft stores sent me into sticker shock.  Each little cluster of flowers was anywhere from $7 - $15, and I would need at least five of them to make it look full.  Too rich for my blood!  So I quickly forgot about flowers and moved on with my life.

Fast forward to now.  The temperatures are dropping and we're spending more and more time indoors.  I was looking for some way to dress our house up a little for the upcoming holiday, and my eyes again were drawn once again to the empty spot on my kitchen table that had once, very briefly, been improved by a vase of flowers.  Maybe the cats would behave better now?  Not a chance.  Maybe for prices at the craft stores had dropped?  Sadly, no.

In passing, I wistfully mentioned my dilemma to my sister - and do you know what she told me?  They sell fake flowers at the dollar store!  Of course!  Why didn't I think of that?  So I jumped in my car and drove out straight away to finally - FINALLY - create the centerpiece I had craved.


I bought five springs of foliage - two flowers, two leaves (one with berries, one without), and one set of cattail-esque puffs.  I also bought some floral foam to hold them all.  This pack actually contained four pieces of foam, but I only used one.  That's three more arrangements I can make!  I used a container that I already had at home, but they had tons of glass jars and vases that I could have used as well.


I crammed one of the foam blocks into my vase, and it was a perfect fit!
 

I pushed it down far enough to make sure that it could not be seen over the top and then started filling it up.


I love my results!  I think five sprigs worked out really well; they filled my space without looking too bushy.  And really, for being from the dollar store they don't look half bad.  My cats are especially fond of the long bits sticking out the top -  but they have not knocked it over!
 

My total cost for this project was a mere $5.25 - totally worth the price.  I will definitely be making more centerpieces from the dollar store.


Friday, November 7, 2014

Easy DIY Sweater Pumkpins Tutorial

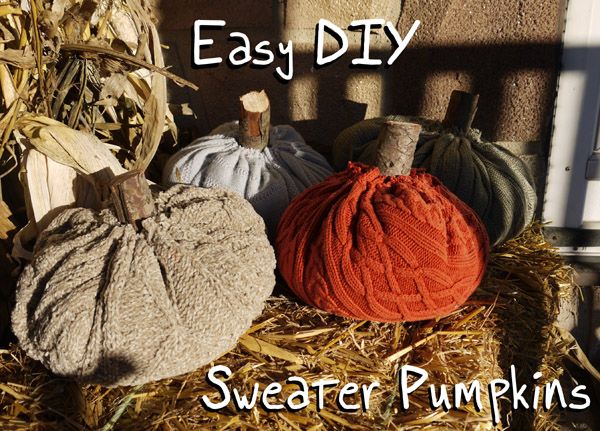
Back when we visited Sycamore Springs' fall open house, Kylie and I both fell in love with the sweater pumpkins we saw there.  Since we are both extremely thrifty, we decided to try our hand at making some ourselves.  I'm pleased to announce that it went rather well!
Easy DIY Sweater Pumpkins

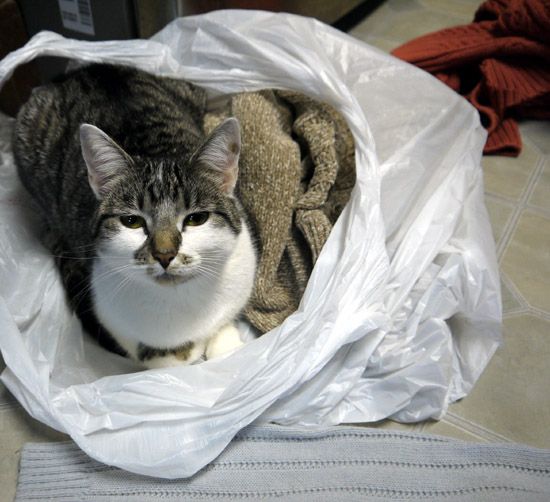
First things first, you'll need a sweater (or four).  We bought ours at the local Goodwill, but you can use whatever you've got sitting around - or borrow some from your favorite sweater-hoarding cat!


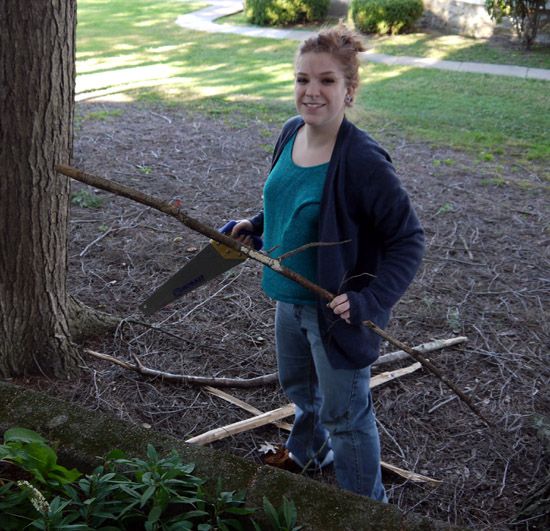
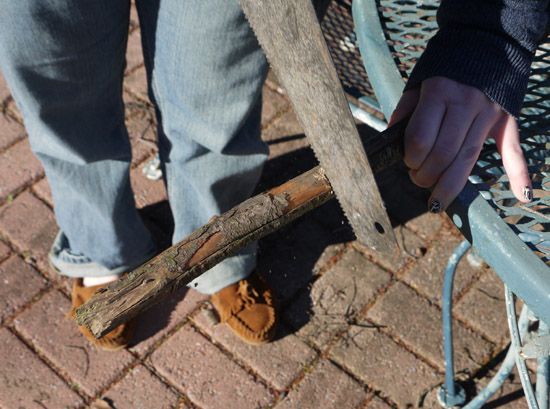
You'll also need some stem-width sticks.  What counts as stem-width is entirely up to your personal preference, but we found a nice branch in my neighbor's yard and cut it down to size ourselves.  They should be long enough to run the entire way through your pumpkin and still stick out a few inches at the top.


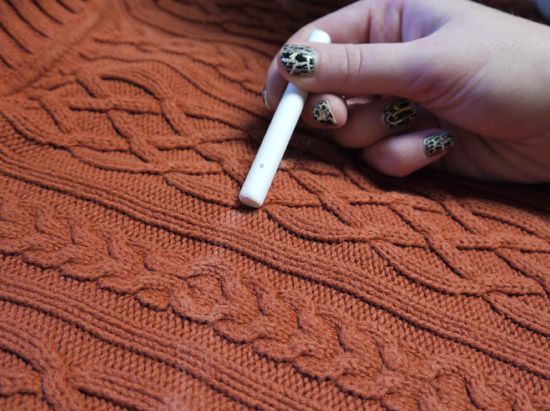
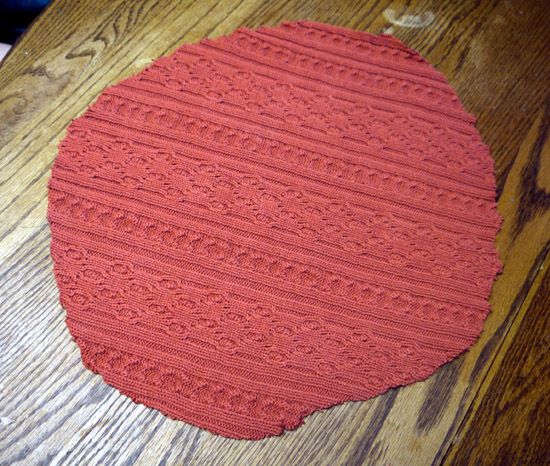
The first real step is to cut out a roughly circular shape from your sweater.  Again, the size and shape are all up to you.  We wanted larger, rounder pumpkins, so we bought XL and XXL men's sweaters. 


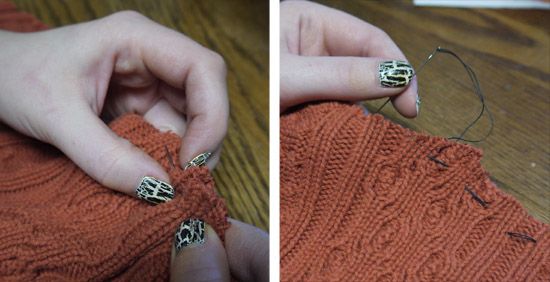
Next you'll want to grab a needle and thread and sew a simple straight stitch all around the outside edge of your circle.  You're basically making a big drawstring bag at this point.  Your stitches don't need to be anywhere near perfect - you won't be able to see when when you're finished.

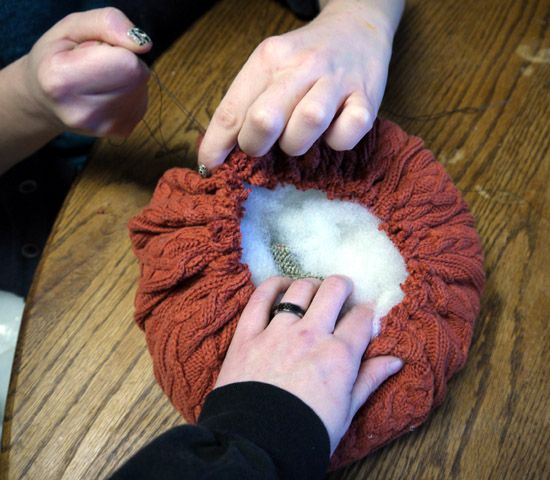
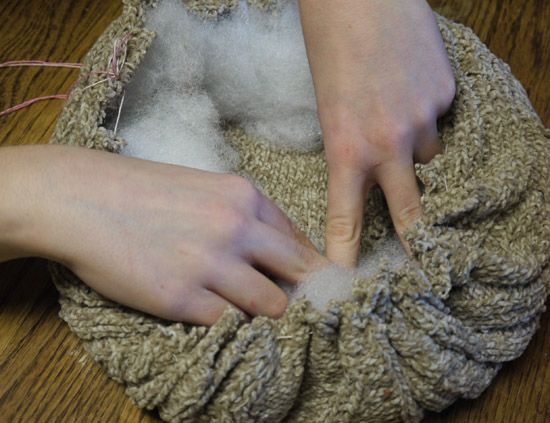
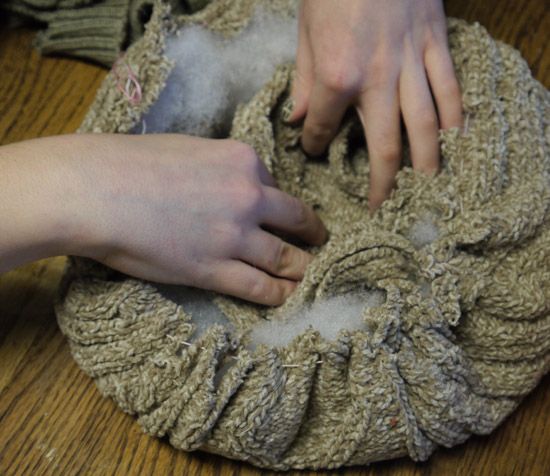
Now grab a ball of stuffing and stick it in the middle of your circle.  Start pulling your thread like a drawstring to pull the edges in around the stuffing.  This might be a two person job - it can be tough to pull it tight enough alone!


You can see that we stuck some sweater scraps from other pumpkins in there in addition to our stuffing - there are a few reasons for this.  Reason 1: why waste it when you can use it?  Reason 2: it added some weight to our pumpkins.  Reason 3: you'll go through less stuffing this way.  Reason 4: it creates a better base to support the stem.  We kept the scraps in the center and then padded it out with stuffing to make sure it kept the very soft, round shape we were trying to achieve.


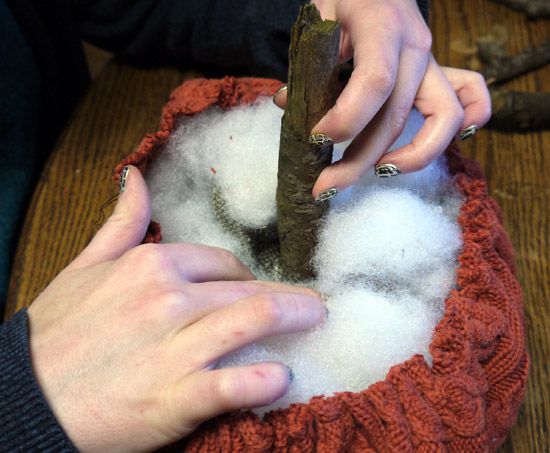
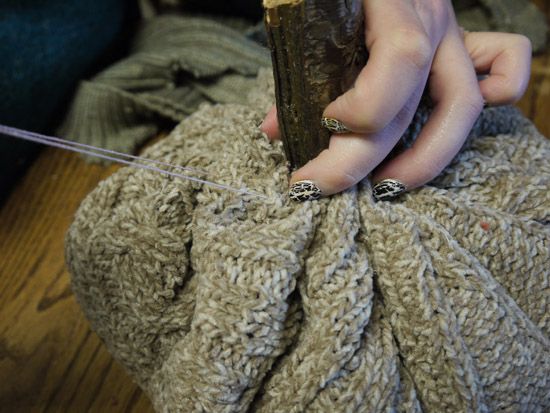
Regardless of whether or not you use sweater scraps as stuffing or not, your next step will be to add your stem.  Stick it right in the middle of your stuffing and then pull the drawstring thread tight.


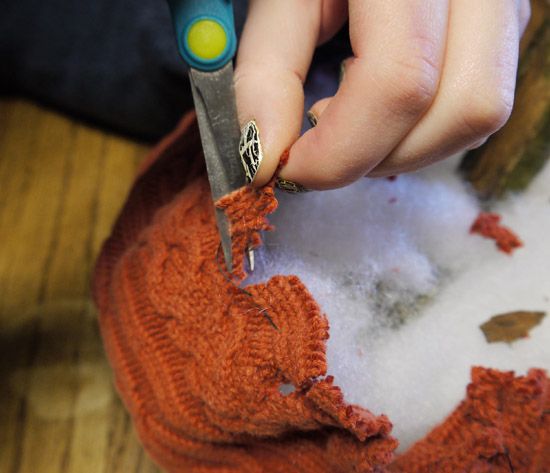
If your sweater is super thick like some of ours were, you might have a hard time pulling it tight enough to meet the stem.  This is easily fixed by trimming the excess fabric away from between your stitches.  Just keep trimming until you can pull it tight - you will not be able to see these cuts at all when you're finished.

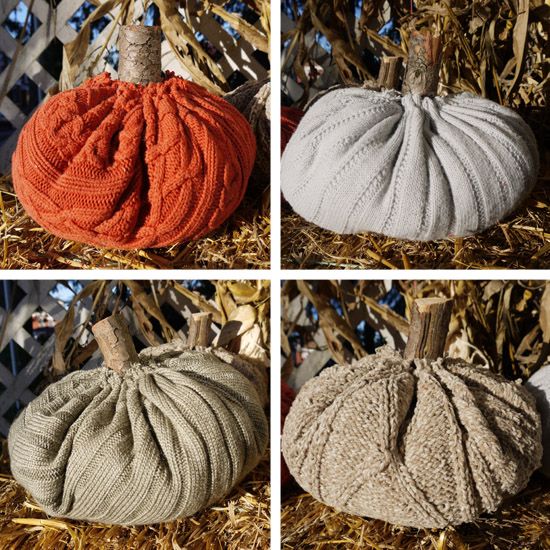
sweater pumpkins

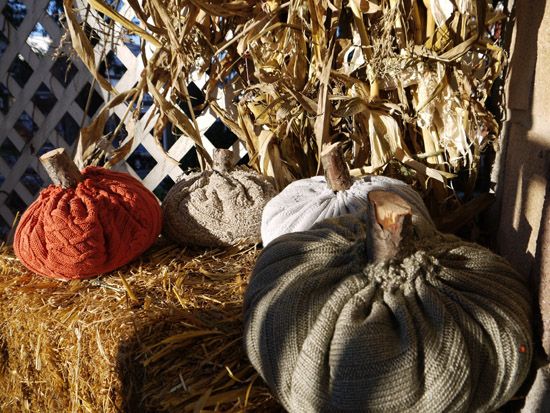
If you want to add some hot glue on the inside to keep everything in place you can, but we didn't bother.  Unless you're planning on carrying them around a lot, there really isn't any point.  And that's it - you're done!  Cheap and easy sweater pumpkins!

sweater pumpkins

I hope you enjoyed our foray into the world of crafts!


Thursday, October 2, 2014

Sycamore Springs Fall Open House 2014

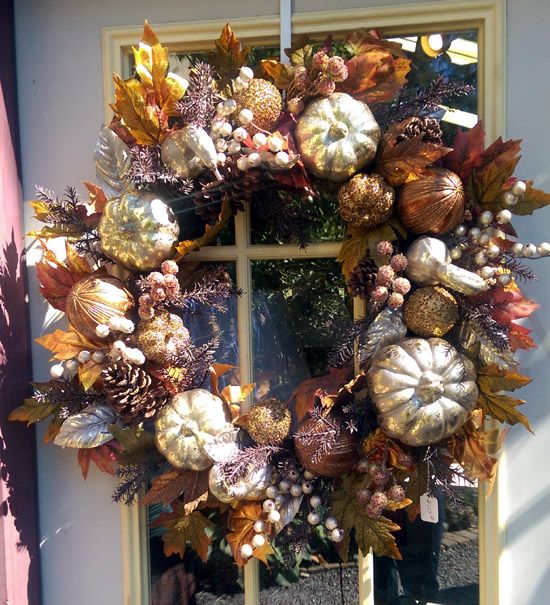
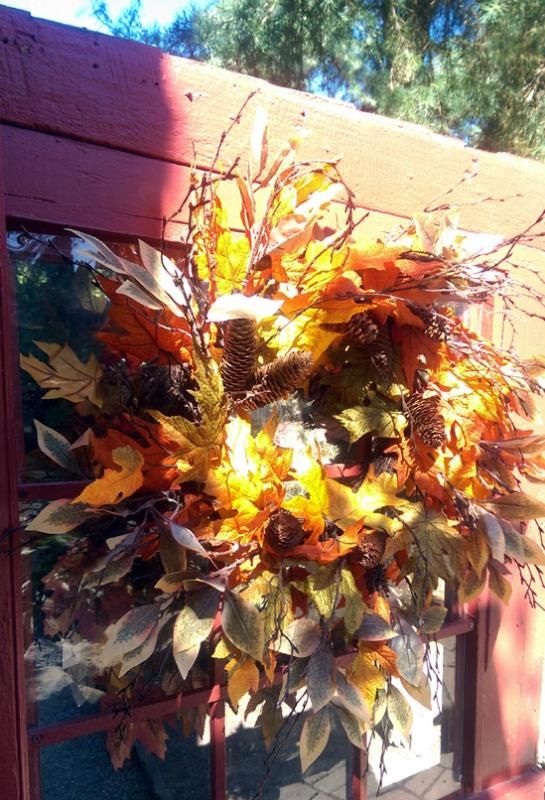
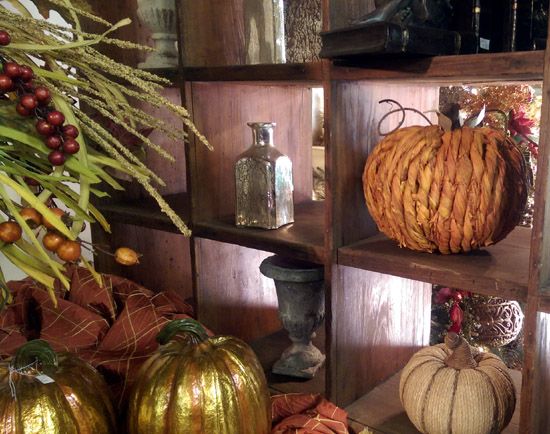
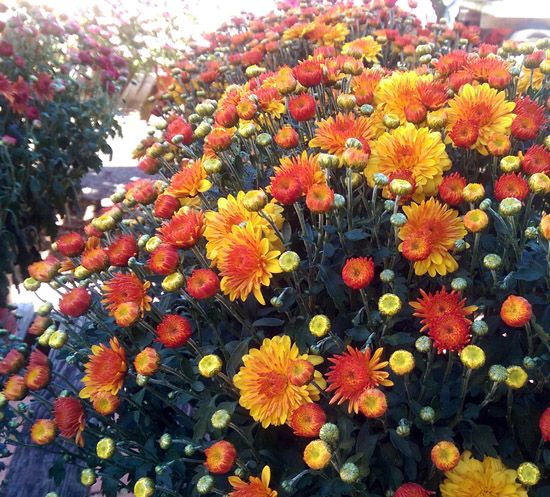
On Saturday, we attended the fall open house at Sycamore Springs.  They had tons of great decorating ideas for the upcoming fall holiday season.  There were beautiful autumnal wreaths and other leafy arrangements:


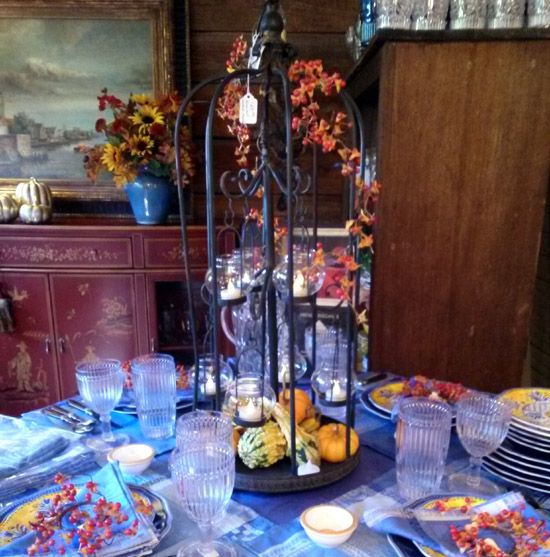
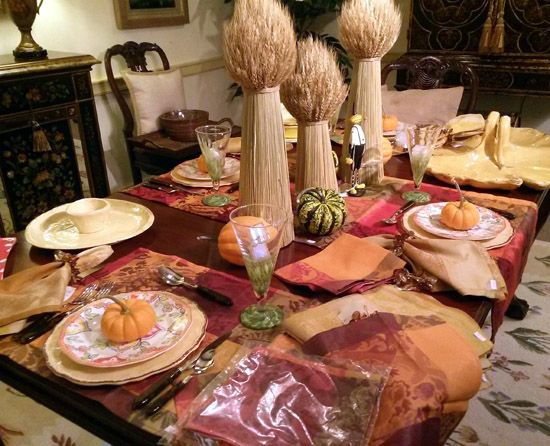
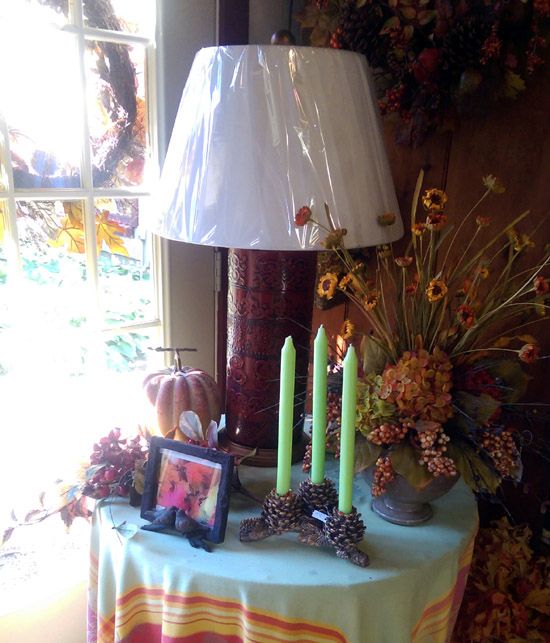
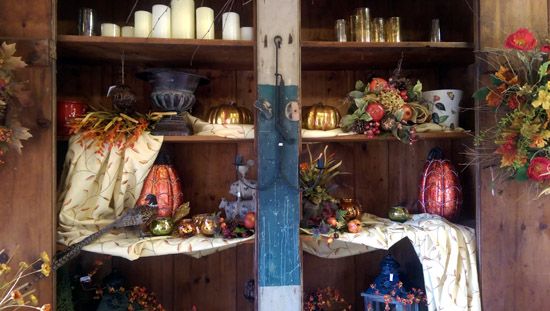
 There were also a few different tablescapes to serve as inspiration.


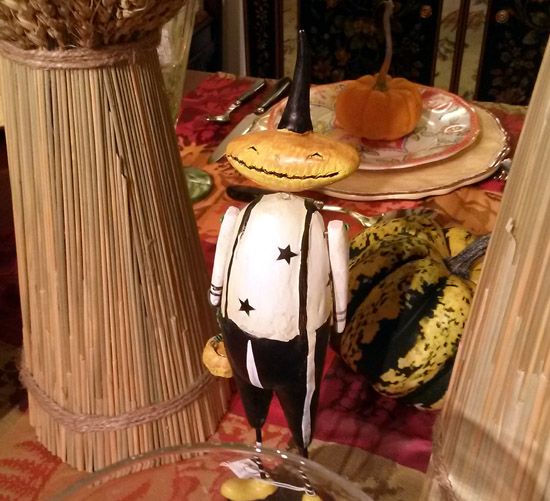
Check out this cute little guy!


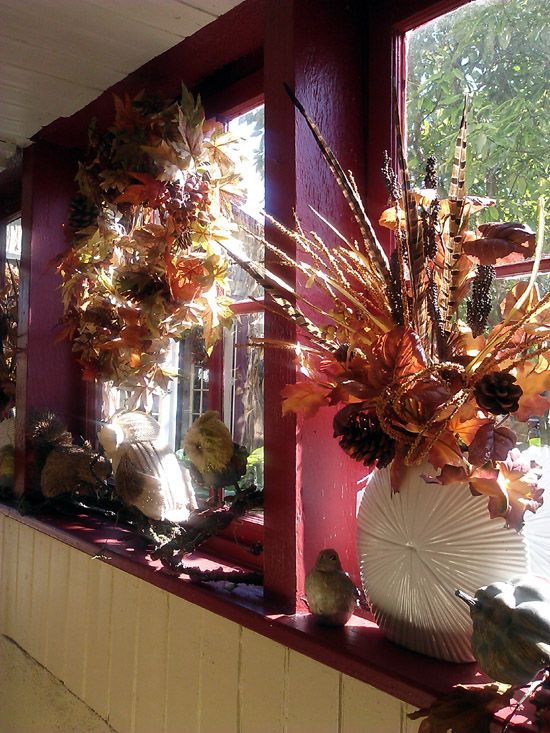
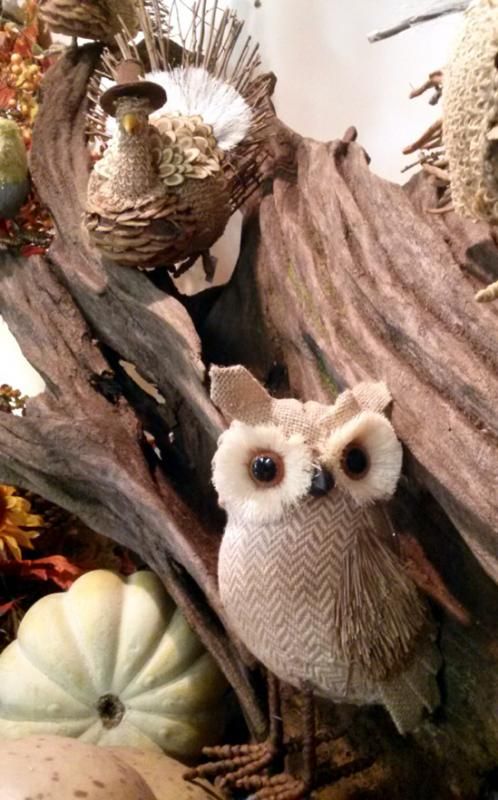
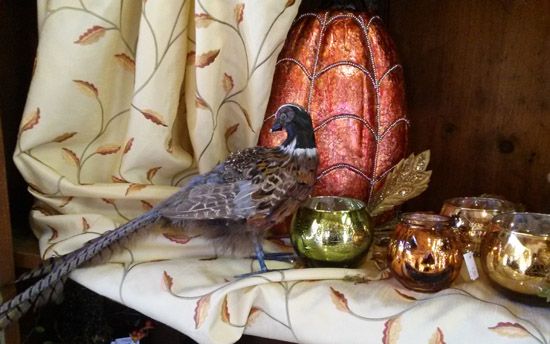
 Kylie loved the adorable birds made from rustic natural materials.


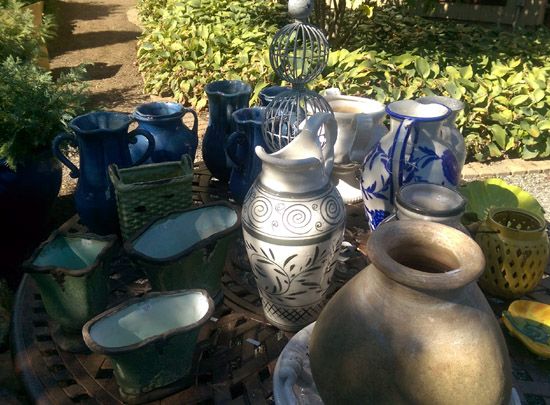
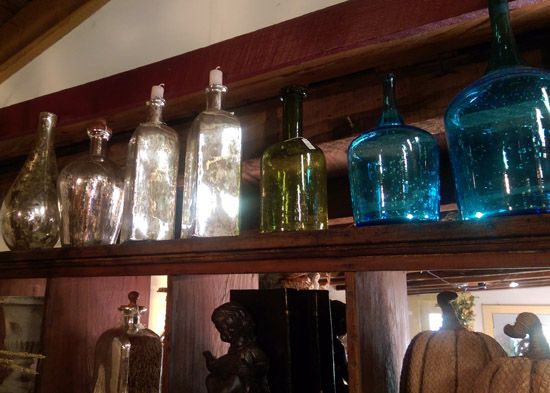
 And Kera ended up taking one of these beautiful vases home with her.


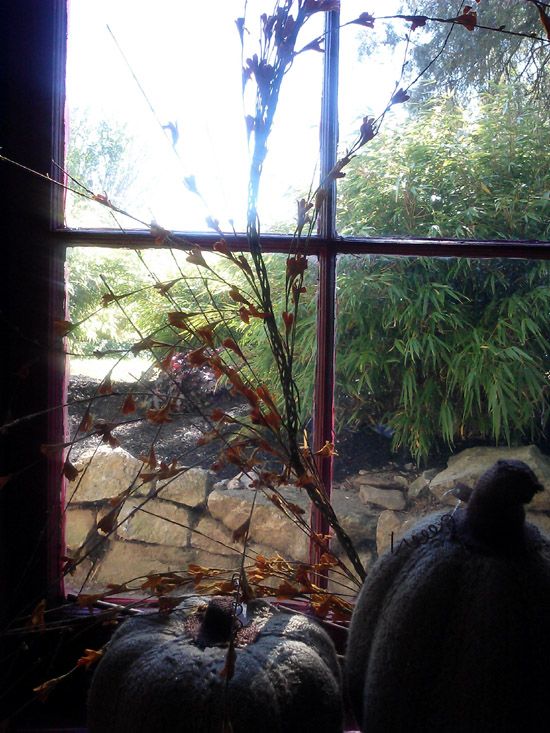
There was also a wide variety of general fall decor.


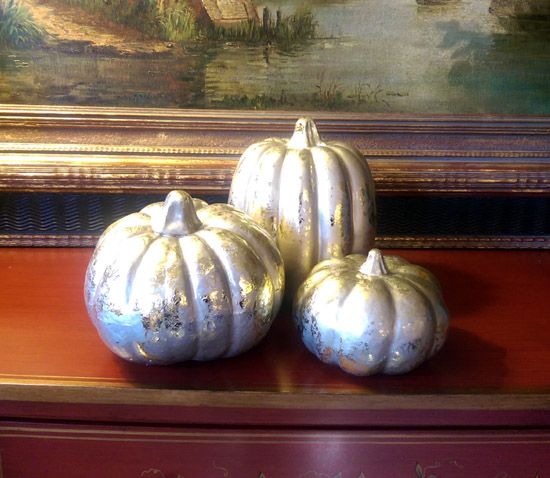
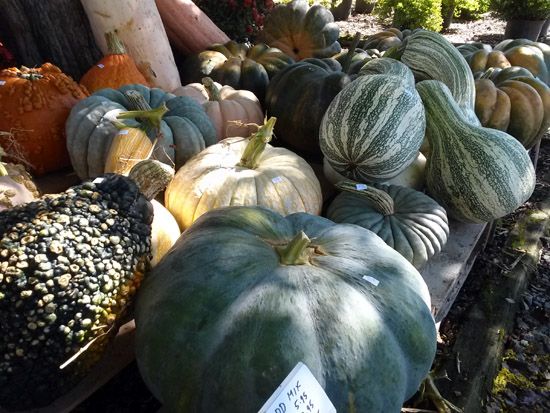
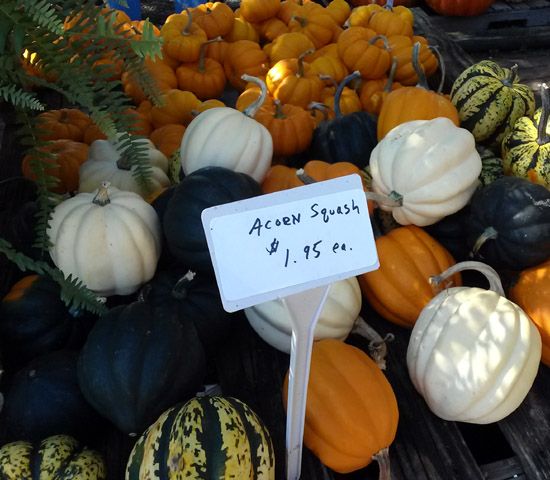
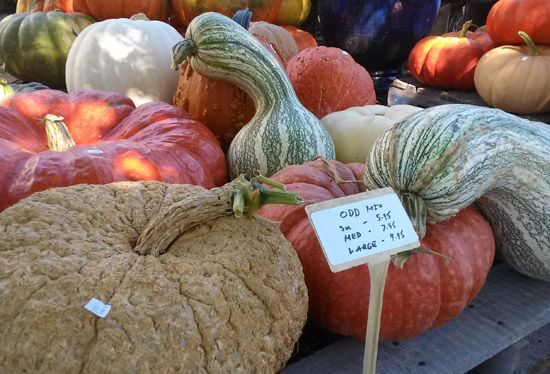
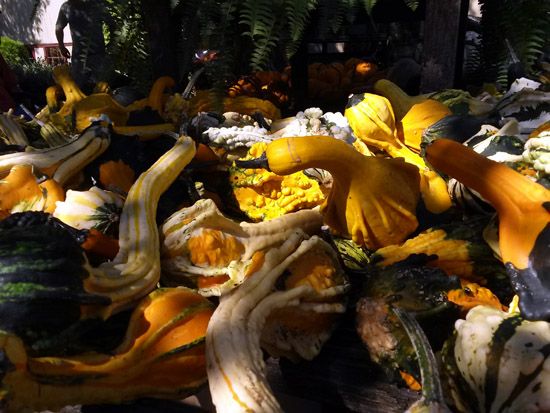
There were also tons of pumpkins and gourds available.

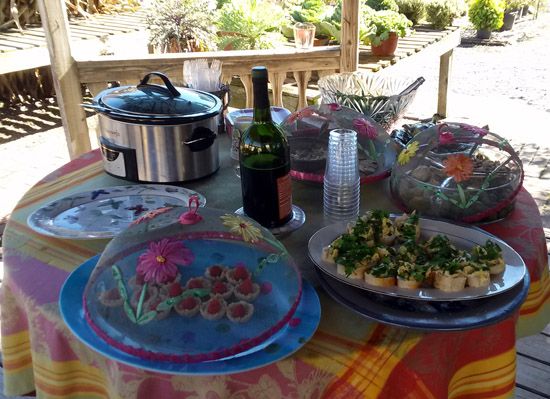
And what open house would be complete without a delicious spread of hors d'oeuvres, desserts, and wine?


We had a great time and can't wait until the winter open house!