Showing posts with label nails. Show all posts

Wednesday, April 8, 2015

Spring Moon Manicure

After finding my favorite top coat that I had recently lost, I was motivated to do a spring manicure cute enough to share. I’ve been into moon manicures lately and I think they’re underrated, so that’s what I decided on.
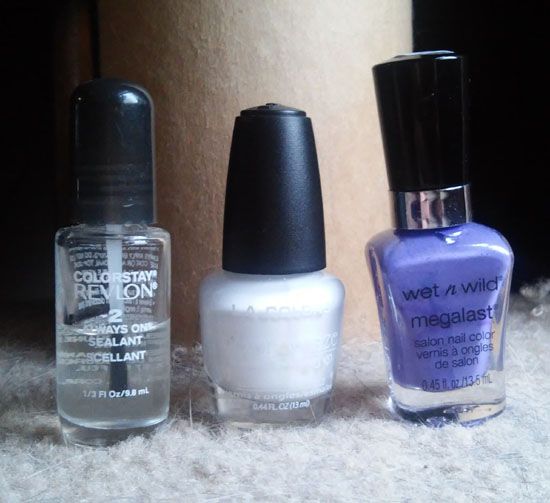


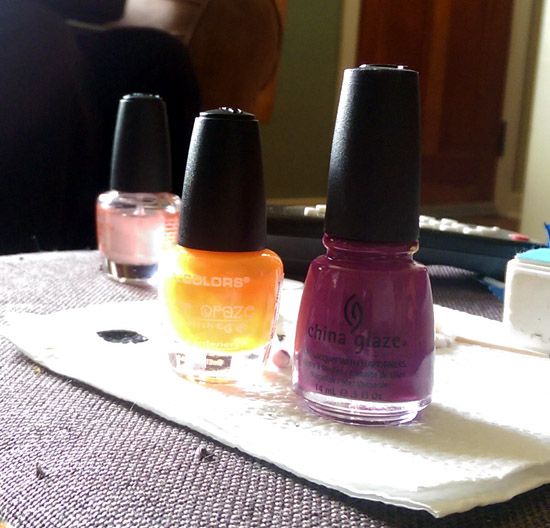
I used On a Trip from Wet N’ Wild Megalast for my main color, Energy Source from Color Craze for the accents, and Colorstay Revlon Always On Sealant for a topcoat.
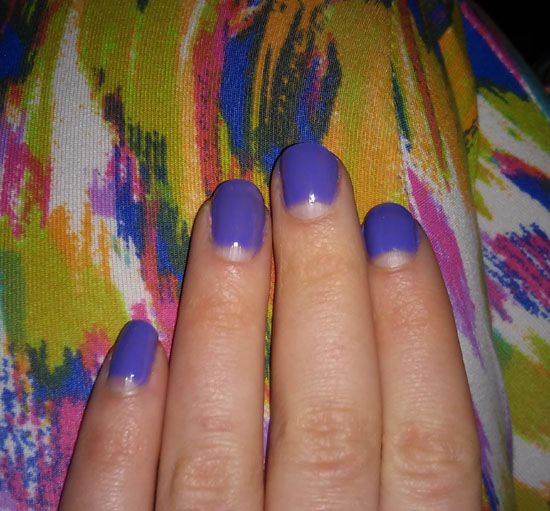

Step One - If you’re lucky enough to have perfectly shaped moons you can use that as a guide, if not paint a curve almost mirroring your cuticle from one corner up a bit and back down to the other corner of your cuticle then brush up from the curve to the top of the nail to fill in the rest of the nail. You can also use half of a paper hole reinforcement if you want to make sure it’s perfect! Second coat should be much easier freehanded, just follow along the part you already painted. 
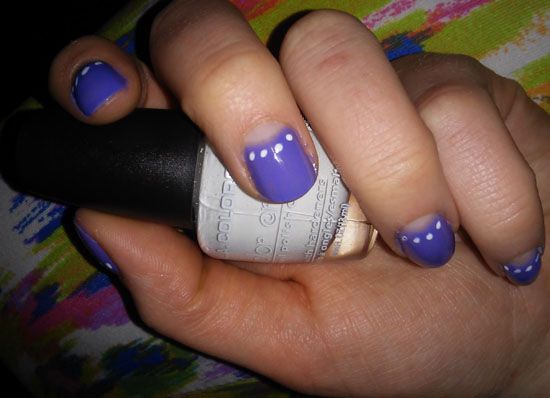

Step Two - Get a bit of your accent color on the tip of a toothpick and dab onto the nail just above the moon to create a dot. Repeat all along the moon, I used 4 dots but you might need more or less depending on the size of your nails.


Step Three - Paint on a layer of topcoat for shine and protection.
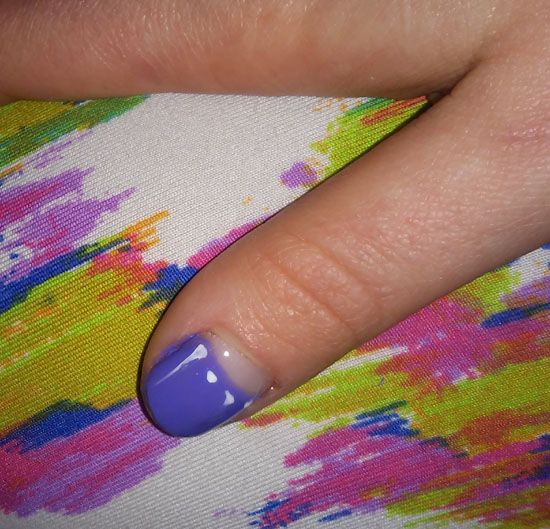


Always make sure each coat is dry before moving onto the next… after realizing I was most likely playing volleyball the next day I kind of rushed through some of it and ended up smearing my dots on a few fingers. Of course volleyball was cancelled so I messed up my nails for no reason and wish I had just taken my time. 
Tuesday, November 4, 2014

Autumn Tree Nail Tutorial

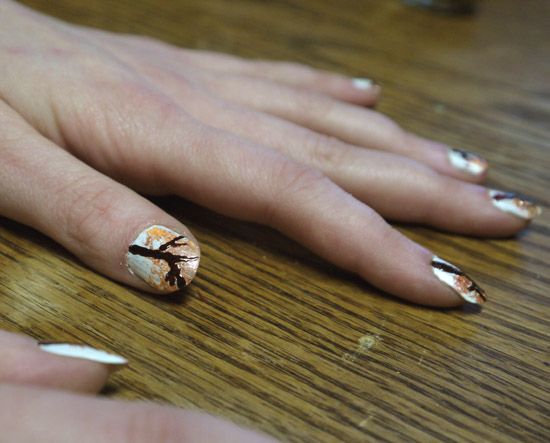
 Hello there!  Today I'd like to teach you how to paint sponged autumn trees on your nails.

Autumn Tree Nail Tutorial


1. Optional base coat
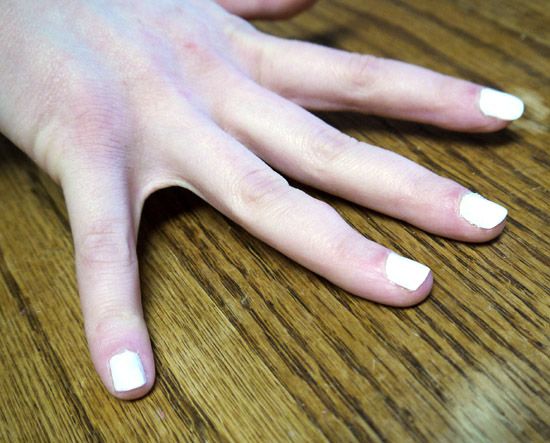
2. Apply as many coats of white nail polish as needed for a solid white.
 

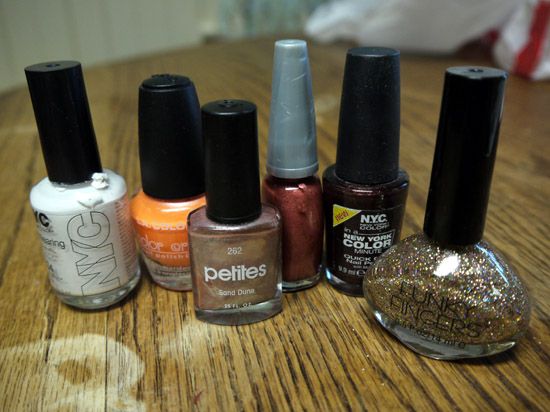
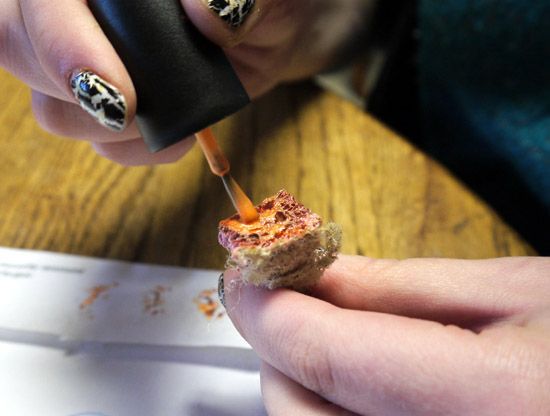
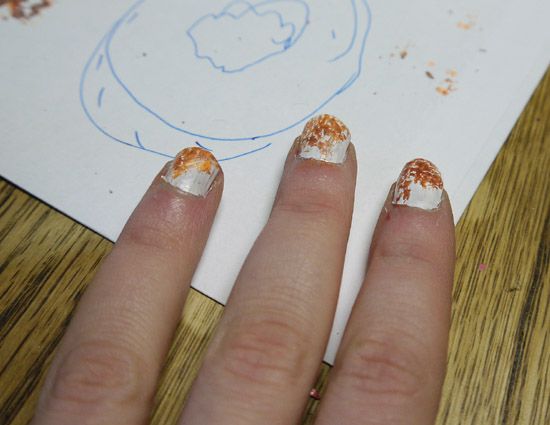
3. Apply autumn leaf colors (orange, red, brown, tan all are good choices) to a sponge.
 

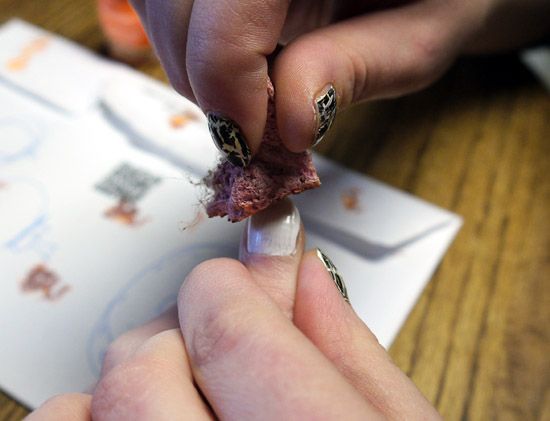
4. Sponge the tip to middle of each nail to make the leaves.
 

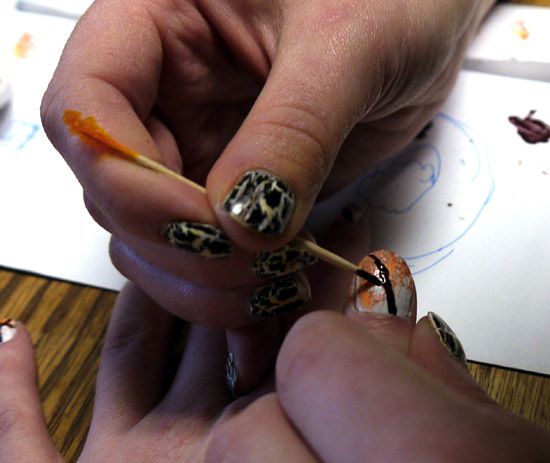
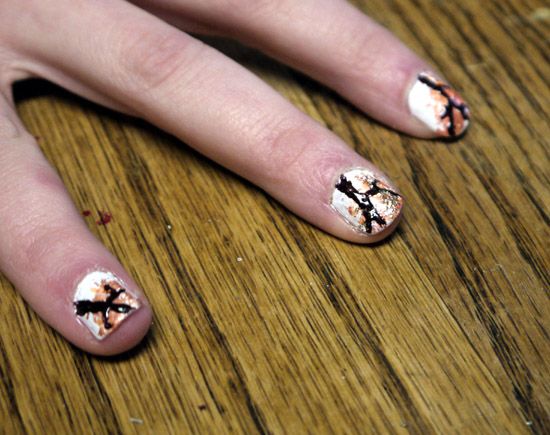
5. Apply a dark brown polish using a toothpick, line brush, or nail art brush to make the tree trunk and branches. Start at the base with a thicker line that tapers towards the tip like a tree. Make thin lines coming off into the sponged leaves for branches.
 

6. Apply more sponged leaves on top if desired.
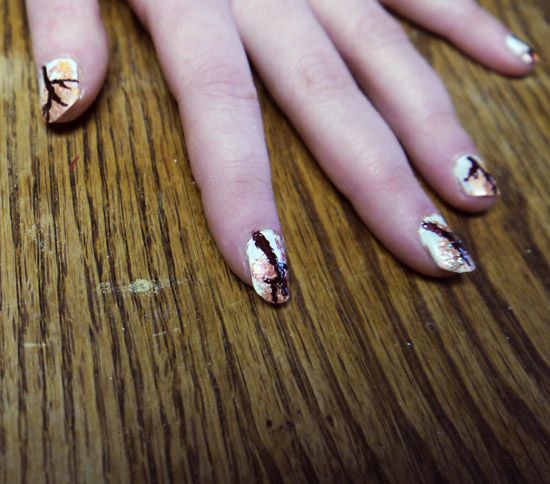
7. Apply gold sparkles on the leaves of one nail on each hand (like the ring or middle finger) or all fingers for extra sparkle.
 

8. Apply clear top coat to seal


Remember to let each coat dry completely before applying the new coat.
Use a q-tip with polish remover to clean up mistakes along the edges of nails

Monday, October 6, 2014

Halloween Nails


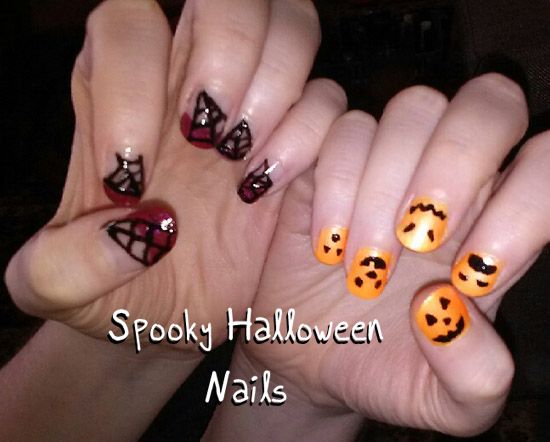
We're getting into October now and you know what that means - it's time to make everything spooky!  These easy Halloween manicure ideas are sure to add some eerie cheer to your day.


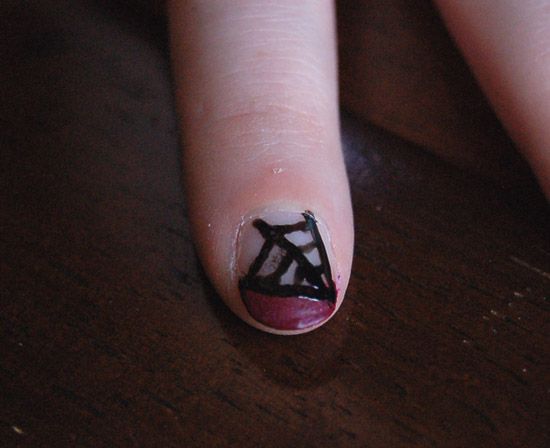
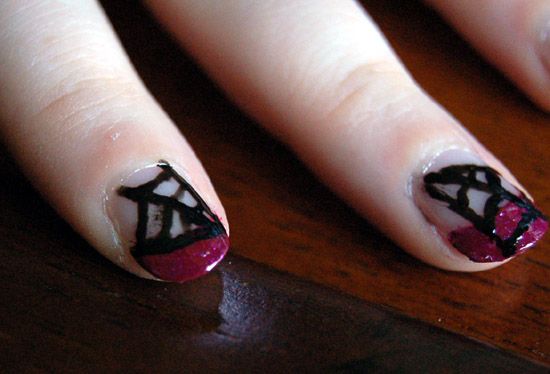
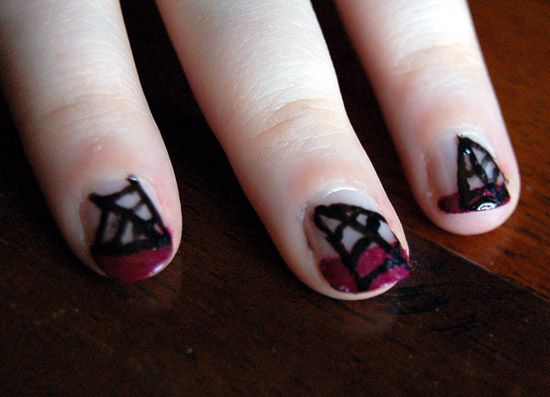
Spiderweb:
1. Optional, apply clear base coat.
2. Apply purple along the tip of the nail as if applying a french nail. Allow nails to dry between any extra coats needed to achieve solid color.
3. Use a toothpick, nail art brush, or line paintbrush to paint 3 long, straight lines on each nail. Connect the lines with a concave line to make web.
4. Apply a clear or clear with sparkle top coat.


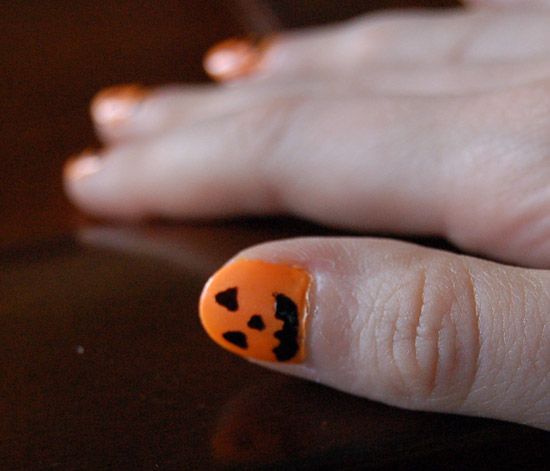
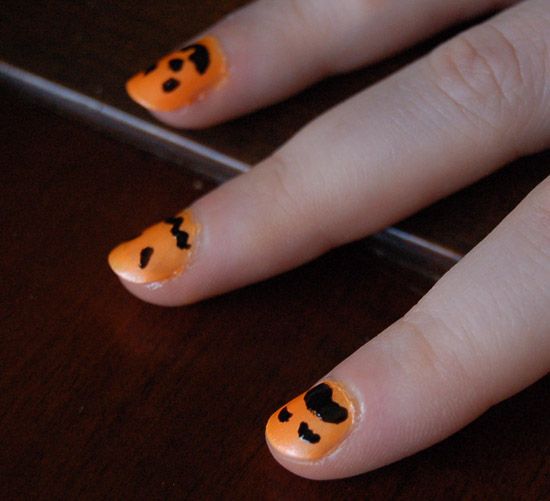
Pumpkin
1. Optional, apply a clear base coat.
2. Apply orange to all nails. Allow to dry and apply as many coats as needed.
3. Use a toothpick, nail art brush, or line paint brush to add pumpkin faces in black. Be creative, it's like getting to carve 10 mini pumpkins without the mess!
4. Apply a clear top coat.


Tips
- use a q-tip dipped in polish remover to remove any mistakes along the nail edge or to clean up the "french" tip.
- french manicure nail guides can be used if you have trouble free handing.
- scotch tape can be used for any of the nail art for super clean lines, just make sure the nails are COMPLETELY dry before applying the tape.
- check for dryness by very gently touching two nails together, if there is any resistance or stickiness they are not fully dry.