Wednesday, November 16, 2016
Easy DIY Dollar Store Floral Thanksgiving Centerpiece
A while back, I read an article stating that a great way to make your house a happier place is to display fresh flowers. Well, I tried this and I learned one thing - whoever wrote that article does not have four bad cats! After the third cycle of mopping up water and rearranging half-eaten buds, I realized that this tip is simply not going to work for me.
I thought about using fake flowers, but one look at the prices at my local craft stores sent me into sticker shock. Each little cluster of flowers was anywhere from $7 - $15, and I would need at least five of them to make it look full. Too rich for my blood! So I quickly forgot about flowers and moved on with my life.
Fast forward to now. The temperatures are dropping and we're spending more and more time indoors. I was looking for some way to dress our house up a little for the upcoming holiday, and my eyes again were drawn once again to the empty spot on my kitchen table that had once, very briefly, been improved by a vase of flowers. Maybe the cats would behave better now? Not a chance. Maybe for prices at the craft stores had dropped? Sadly, no.
In passing, I wistfully mentioned my dilemma to my sister - and do you know what she told me? They sell fake flowers at the dollar store! Of course! Why didn't I think of that? So I jumped in my car and drove out straight away to finally - FINALLY - create the centerpiece I had craved.
I bought five springs of foliage - two flowers, two leaves (one with berries, one without), and one set of cattail-esque puffs. I also bought some floral foam to hold them all. This pack actually contained four pieces of foam, but I only used one. That's three more arrangements I can make! I used a container that I already had at home, but they had tons of glass jars and vases that I could have used as well.
I crammed one of the foam blocks into my vase, and it was a perfect fit!
I pushed it down far enough to make sure that it could not be seen over the top and then started filling it up.
I love my results! I think five sprigs worked out really well; they filled my space without looking too bushy. And really, for being from the dollar store they don't look half bad. My cats are especially fond of the long bits sticking out the top - but they have not knocked it over!
My total cost for this project was a mere $5.25 - totally worth the price. I will definitely be making more centerpieces from the dollar store.
Monday, August 31, 2015
Easy Green Smoothie Formula
Green smoothies are, in my humble opinion, one of the best things ever invented. If you're like me and a) hate vegetables and b) have trouble getting enough protein in your diet, you might want to consider green smoothies.
My mum has talked about wanting to try them for quite a while, but seems baffled as to what recipe to use. I was once like this as well. I wanted precise instructions and measurements. If that's what you're wanting, look no further - I've got a cheat sheet for you!
Pretty easy, right? And fully customizable - you can use whatever fruit and liquid you want, add extras like sweetener or chia seeds, and/or use flavored yogurts. Oh, and if you're wondering, a large handful of greens is about 30 grams according to my kitchen scale. This "recipe" will make about 18 oz of smoothie. You can drink the whole thing, or split it with someone (which is what I do).
If you need some inspiration, here are some of the combinations I use most frequently:
Kera's Favorite: orange juice w/ mango and strawberry
Chris's Favorite: milk w/ strawberry and banana
Berry Blend: strawberry herbal tea w/ mixed berries
Tropical Blend: coconut water w/ pineapple and banana
Peach Cobbler: vanilla almnod milk w/ peaches
Pumpkin Pie: vanilla almond milk w/ pumpkin puree and banana
What are some of your favorite combinations?
Sunday, August 9, 2015
New Products!
There are two new items up in our Etsy shop - kraft paper die cut birds and "Handmade With Love" tags for handmade gifts and products. Go check them out!

Wednesday, April 8, 2015
Spring Moon Manicure
After finding my favorite top coat that I had recently lost, I was motivated to do a spring manicure cute enough to share. I’ve been into moon manicures lately and I think they’re underrated, so that’s what I decided on.
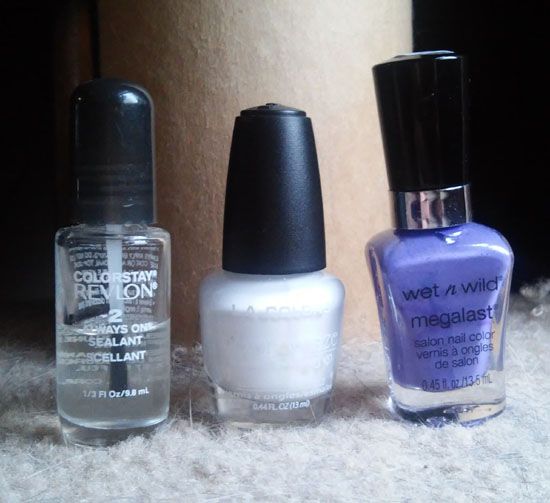
I used On a Trip from Wet N’ Wild Megalast for my main color, Energy Source from Color Craze for the accents, and Colorstay Revlon Always On Sealant for a topcoat.
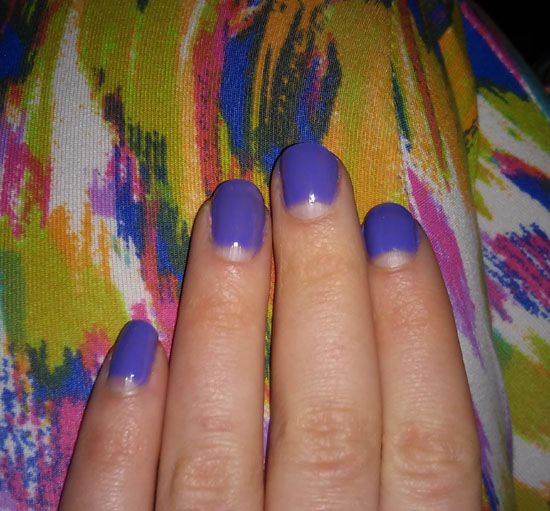
Step One - If you’re lucky enough to have perfectly shaped moons you can use that as a guide, if not paint a curve almost mirroring your cuticle from one corner up a bit and back down to the other corner of your cuticle then brush up from the curve to the top of the nail to fill in the rest of the nail. You can also use half of a paper hole reinforcement if you want to make sure it’s perfect! Second coat should be much easier freehanded, just follow along the part you already painted.
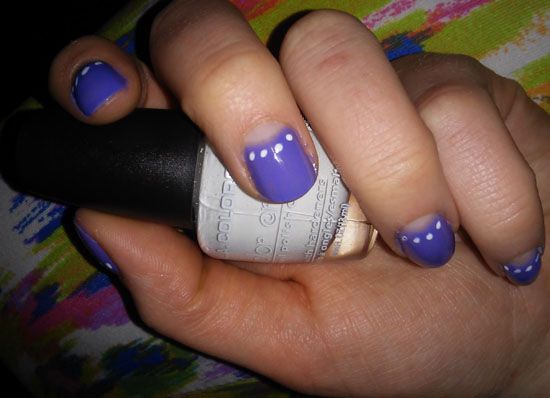
Step Two - Get a bit of your accent color on the tip of a toothpick and dab onto the nail just above the moon to create a dot. Repeat all along the moon, I used 4 dots but you might need more or less depending on the size of your nails.
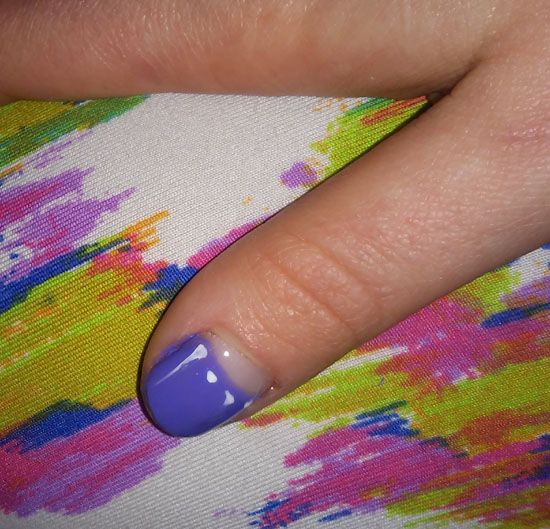
Step Three - Paint on a layer of topcoat for shine and protection.
Always make sure each coat is dry before moving onto the next… after realizing I was most likely playing volleyball the next day I kind of rushed through some of it and ended up smearing my dots on a few fingers. Of course volleyball was cancelled so I messed up my nails for no reason and wish I had just taken my time.
Monday, March 2, 2015
Blog No Real
You may have noticed that we have tried and failed to maintain this blog several times over the last few years. There is, I believe, a reason for this. We have been trying to live up to the unrealistic expectations that blogs all over the internet are creating. If you look around, you'll see a lot of beautifully dressed and well-poised people creating perfect crafts and artfully sculpted foods. These things are lovely, but they are not real.
Obviously, we know that these photos are the result of a lot of time and effort, but we didn't know just how MUCH time and effort until we attempted to do it ourselves. We ended up grumpy and covered in glue, staring down a pile of balloons and string that were supposed to be an art project. I think this was when we both realized that this was not sustainable. It speaks of a much bigger societal problem, where we will never feel fulfilled because we'll never live up to the perfection presented to us.
I'm sure there are tons of people out there who really enjoy and care about coming up with pretty crafts and delicious food all day long, but it's not us. Don't despair, though - we're not giving up on this blog.
Instead, we've decided to shift the focus. Instead of wracking our brains trying to come up with content, we're going to just write about things that we're actually doing. Instead of making weird and useless crafts, we'll make things we actually like. We'll blog about stuff we care about. If we're struggling with something, we'll talk about it. Life is imperfect and we intend to embrace it.
So if you want to see two sisters doing dumb stuff and blogging honestly about it, this is probably the place for you.
Friday, November 21, 2014
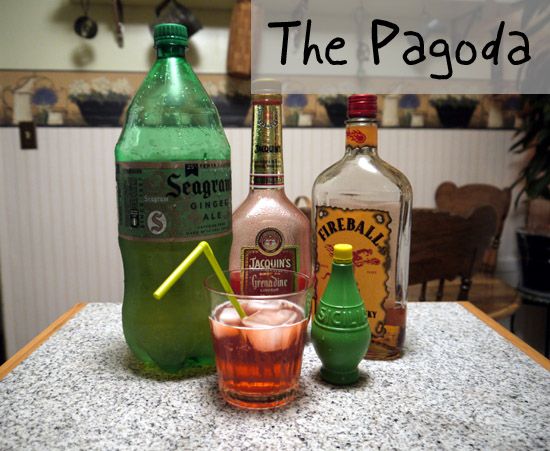
Drinks With Dad - The Pagoda
This month's drink is our take on my dad's favorite drink from a local restaurant called Klinger's on Carsonia. It's festive and cinnamon-y and perfect for cold winter (or autumn) nights. It is named after The Pagoda - a somewhat bizarre but super awesome local landmark.
This one is a lot less involved than our last drink recipes. You can watch us make it here or keep reading for further instructions.
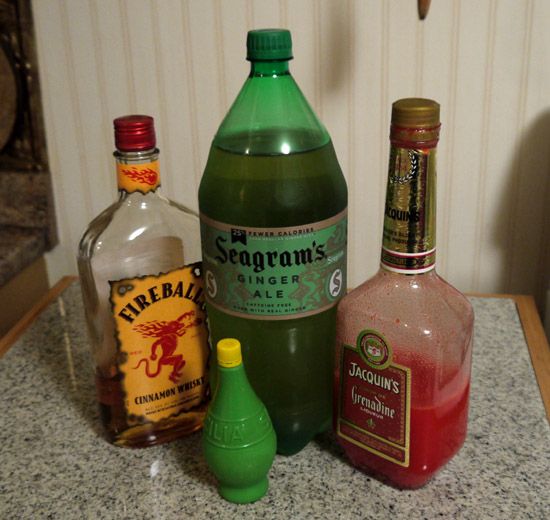
To make this drink you'll need:
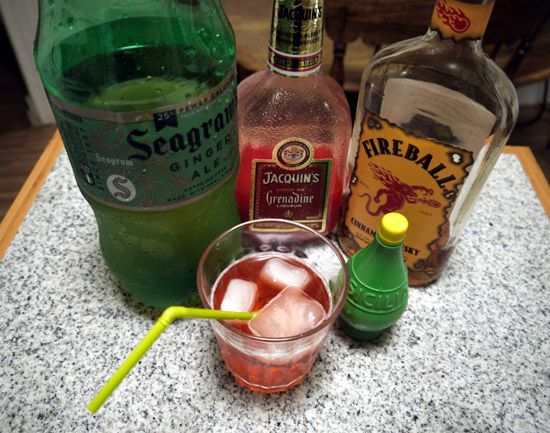
Simply fill a lowball glass with ice and add the first three ingredients. Then fill the rest of the glass with ginger ale, stir with a straw, and enjoy!
This one is a lot less involved than our last drink recipes. You can watch us make it here or keep reading for further instructions.
To make this drink you'll need:
- 1/4 tsp lime juice
- 1 tsp grenadine
- 1 tbsp Fireball whiskey
- ginger ale
Simply fill a lowball glass with ice and add the first three ingredients. Then fill the rest of the glass with ginger ale, stir with a straw, and enjoy!
Tuesday, November 18, 2014
Sycamore Springs Holiday Open House 2014
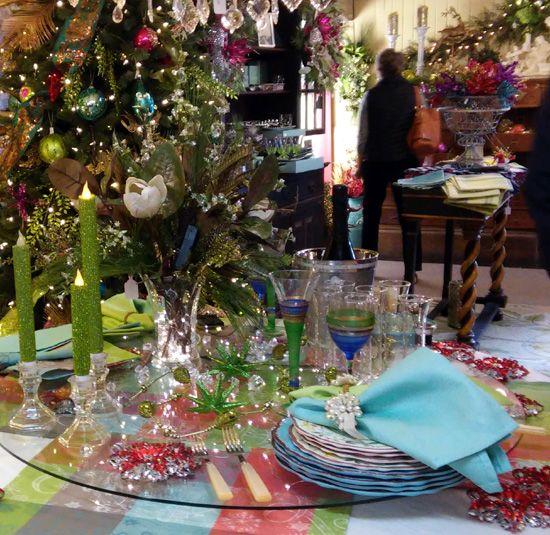
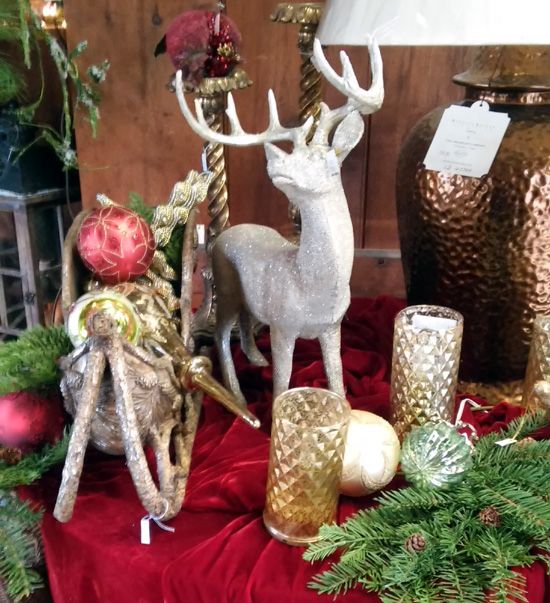
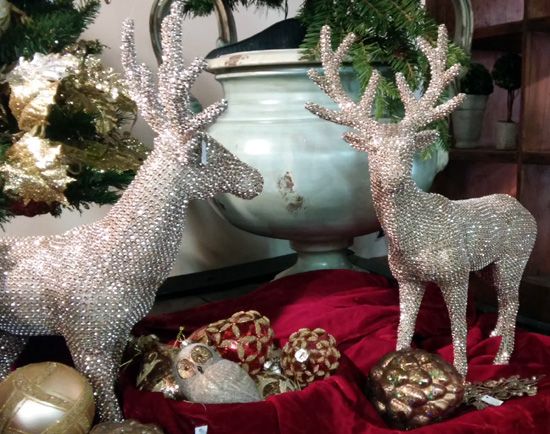
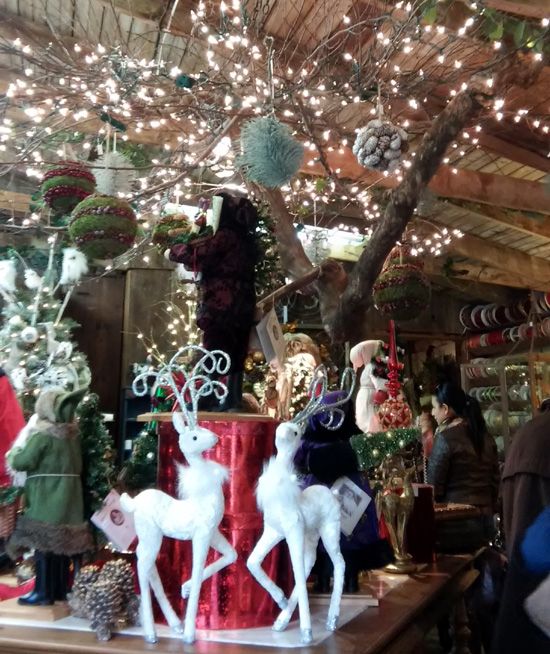
This year's open house at Sycamore Springs was just as amazing as ever! There were tons of beautifully decorated Christmas trees.
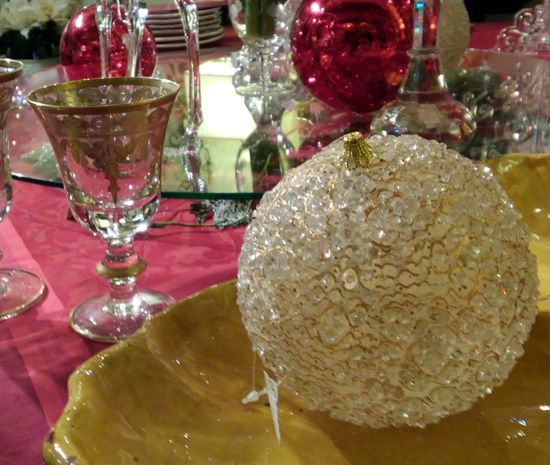
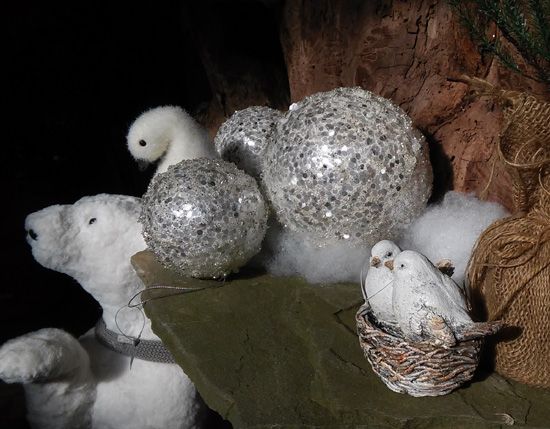
And what would Christmas be without glittery ornaments?
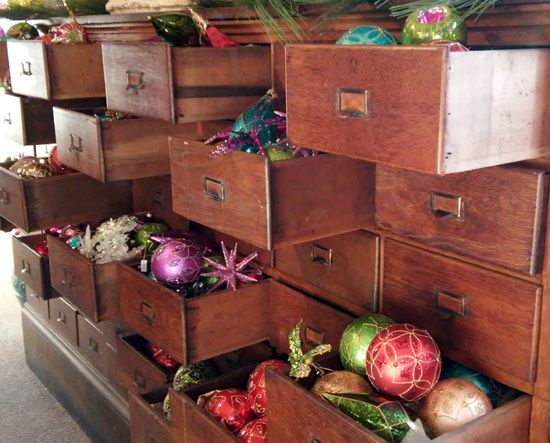
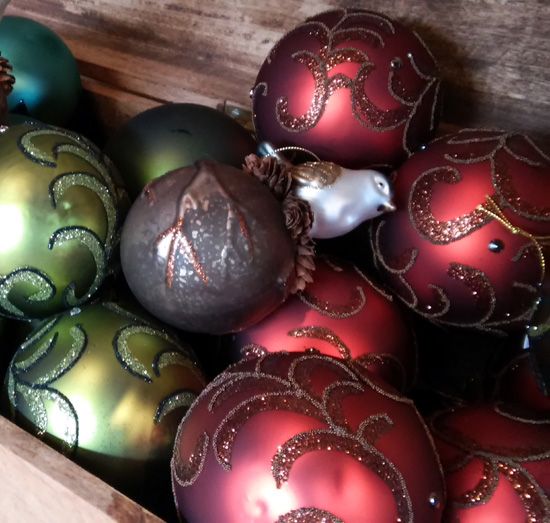
We especially loved these glass ornaments displayed in an old apothecary cabinet / library card catalog.
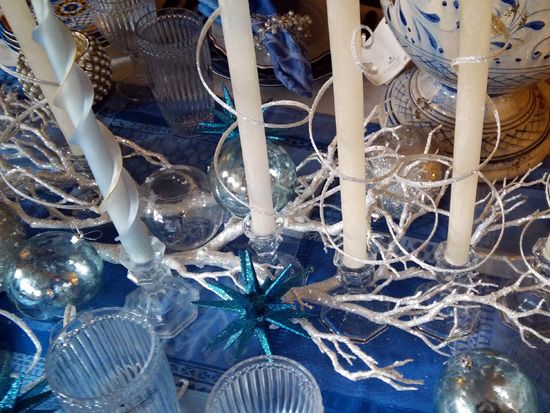
There were also several tablescapes from which to draw inspiration.
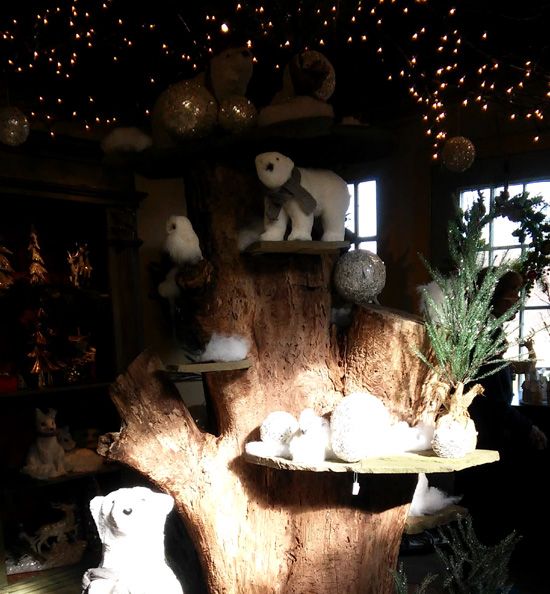
Kylie loved the woodland animals.
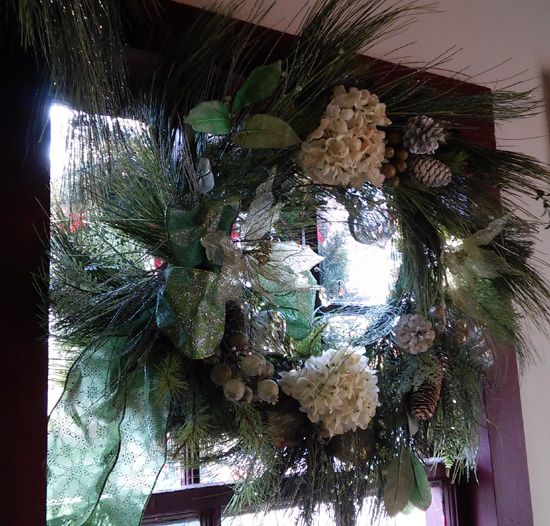
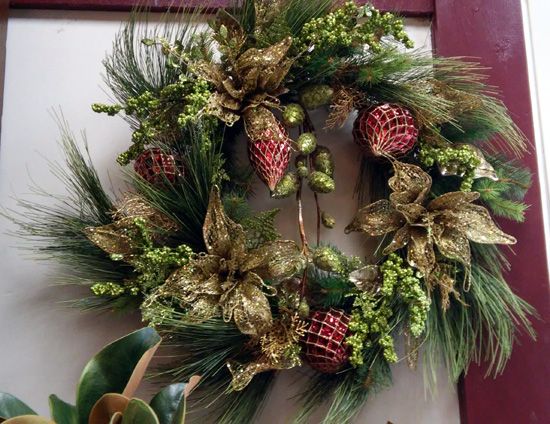
Kera preferred the elegant Christmas wreaths.
All in all, it was a lovely afternoon spent at one of our favorite local shops.
Subscribe to:
Comments (Atom)


