Friday, November 14, 2014

Milk and Honey Oatmeal Mask

Need a moisturizing and exfoliating mask, but you're short on time and money?  We can help!


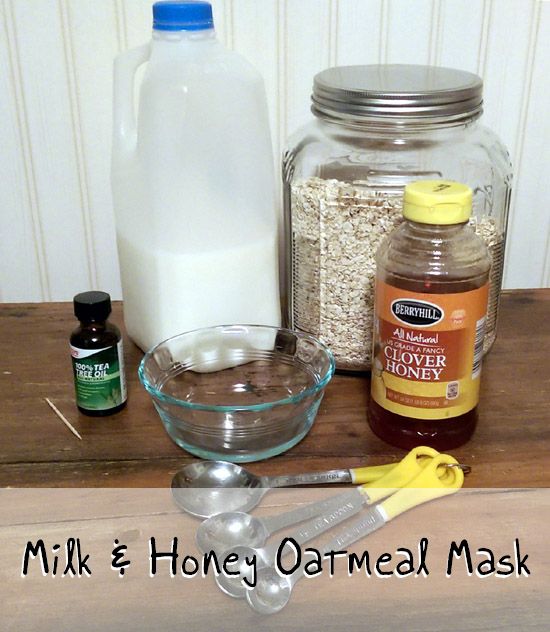
First, gather your ingredients - it doesn't take much!  For two masks, you'll need:
  • 1 tbsp oats
  • 2 tsp milk
  • 2 tsp honey
  • 1 drop tea tree oil (optional)
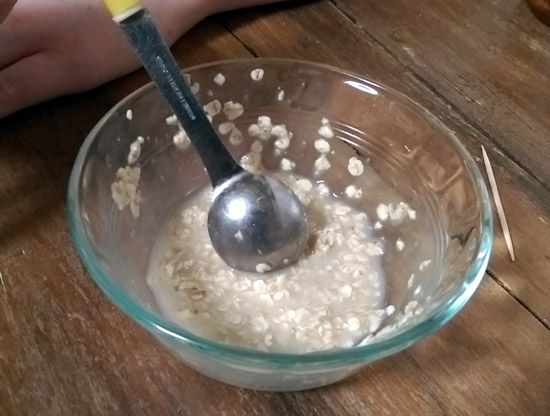
Mix the oats, milk and honey together.   It should be slightly watery and smell very delicious.


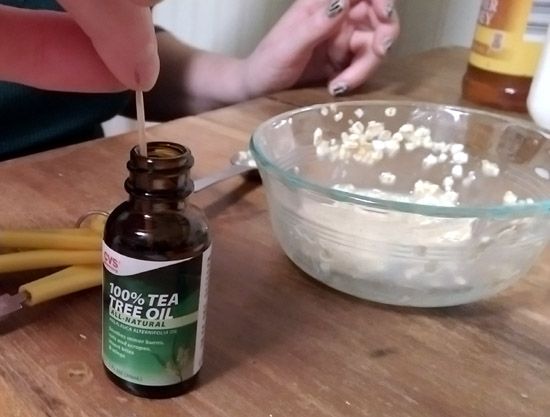
If you want to add some tea tree oil, just use a toothpick to deposit a tiny drop into the oatmeal mixture.  A little bit of tea tree oil goes a long way!


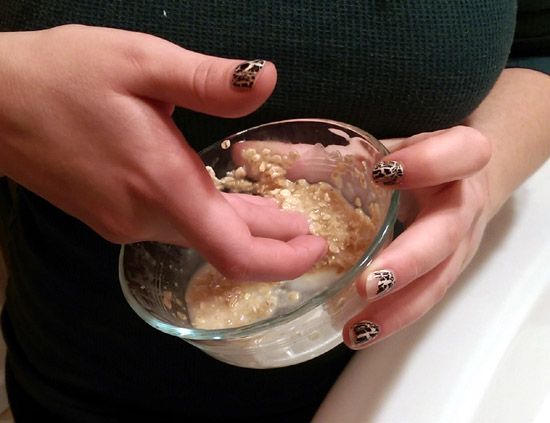
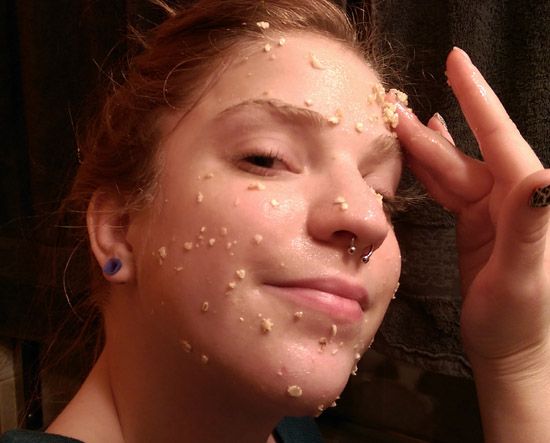
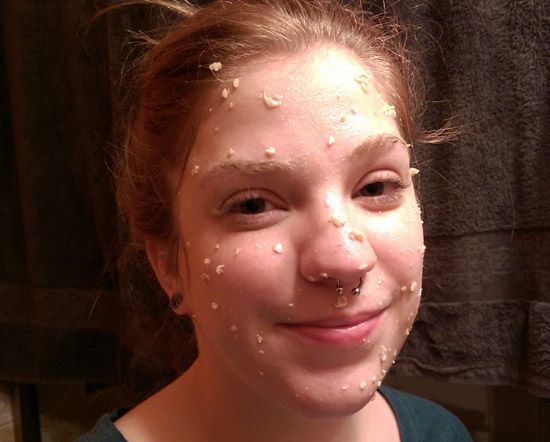
Now simply apply it to your face with your hands.  It's pretty messy, so you might want to do this step over the sink.


The oats will exfoliate and calm while the milk adds moisture and the honey works as a humectant (that's just a fancy way of saying it helps to hold in moisture).  The tea tree oil has natural antibacterial and anti-fungal properties, so it is great for treating and preventing acne.


Once the mask is applied, keep it on until it starts to feel tight and itchy.  Then simply rinse it away and enjoy your fresh and invigorated skin!


Linking Up At:

Tuesday, November 11, 2014

Sister Style - November

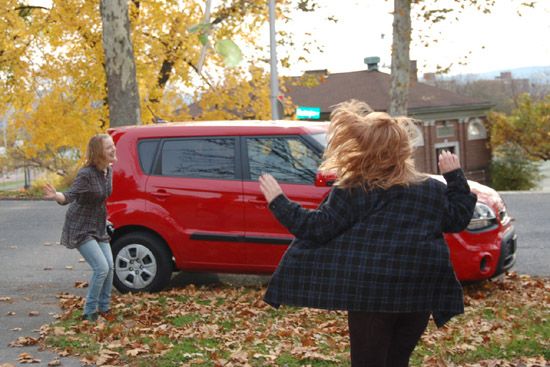
It was pretty cold this weekend, but that didn't stop us from venturing out.  This month we traveled up Mt. Penn to take some photos near the Fire Tower.  The fall foliage is on its way out, but it was still quite lovely up there above the city.


By the end of the day, though, we were quite ready to get back home!


Linking Up At:

Friday, November 7, 2014

Easy DIY Sweater Pumkpins Tutorial

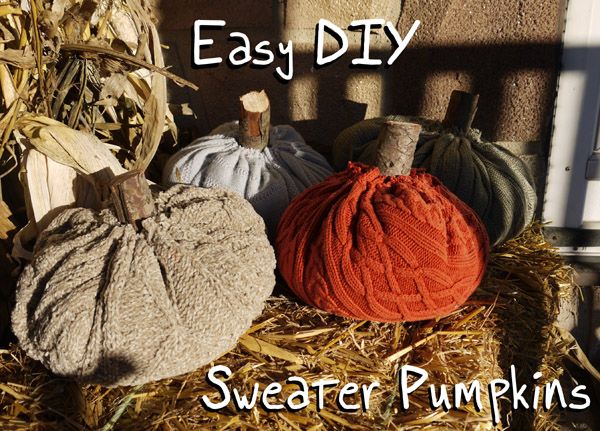
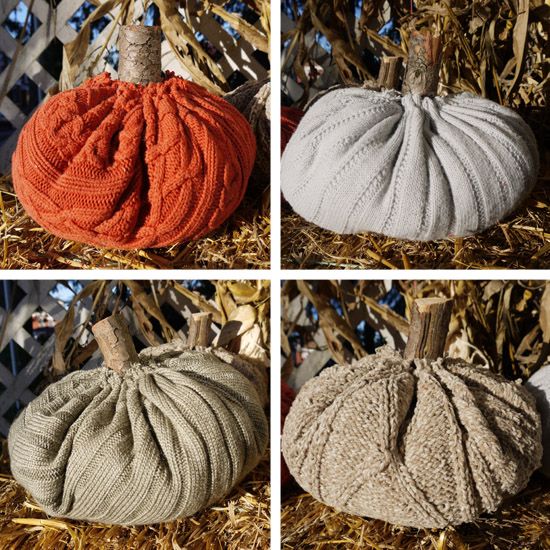
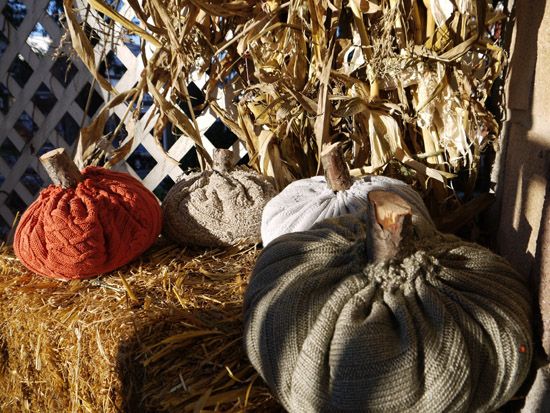
Back when we visited Sycamore Springs' fall open house, Kylie and I both fell in love with the sweater pumpkins we saw there.  Since we are both extremely thrifty, we decided to try our hand at making some ourselves.  I'm pleased to announce that it went rather well!
Easy DIY Sweater Pumpkins

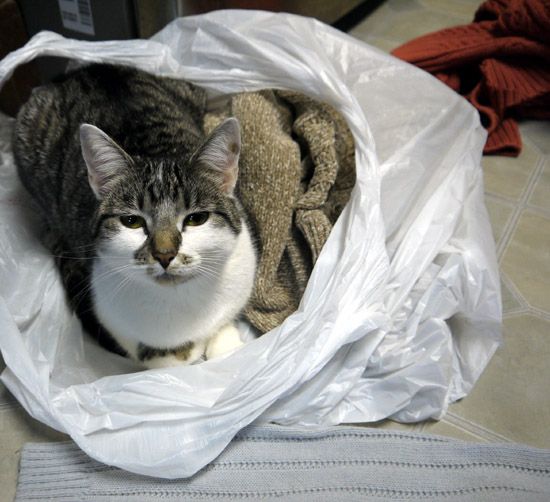
First things first, you'll need a sweater (or four).  We bought ours at the local Goodwill, but you can use whatever you've got sitting around - or borrow some from your favorite sweater-hoarding cat!


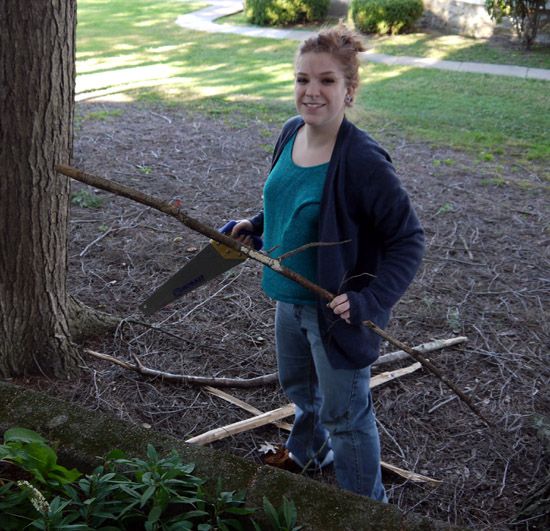
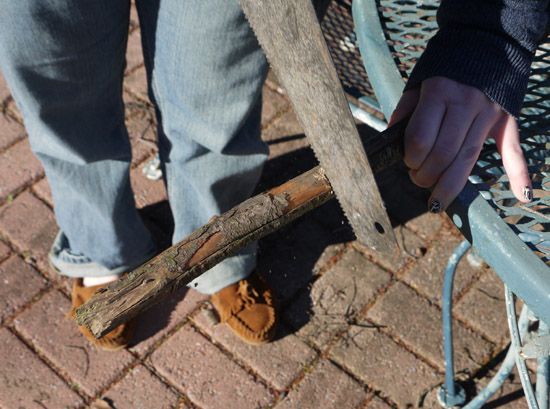
You'll also need some stem-width sticks.  What counts as stem-width is entirely up to your personal preference, but we found a nice branch in my neighbor's yard and cut it down to size ourselves.  They should be long enough to run the entire way through your pumpkin and still stick out a few inches at the top.


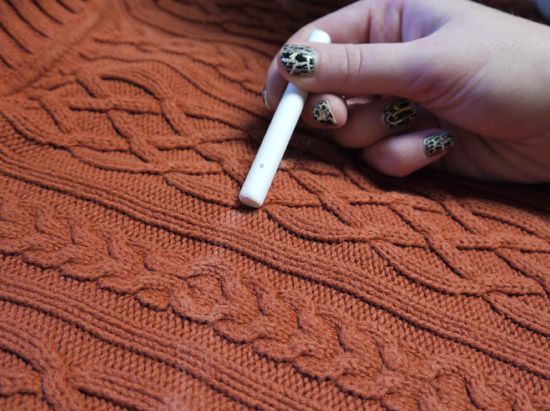
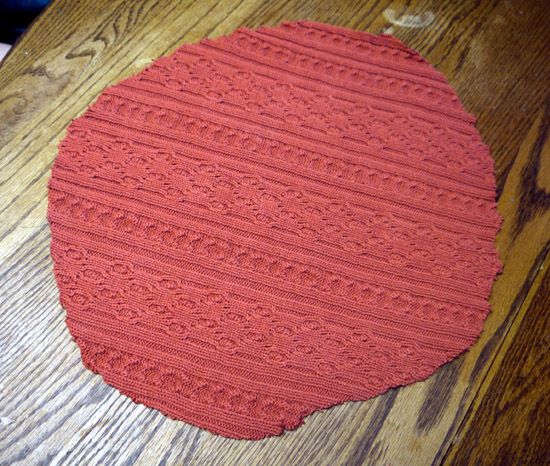
The first real step is to cut out a roughly circular shape from your sweater.  Again, the size and shape are all up to you.  We wanted larger, rounder pumpkins, so we bought XL and XXL men's sweaters. 


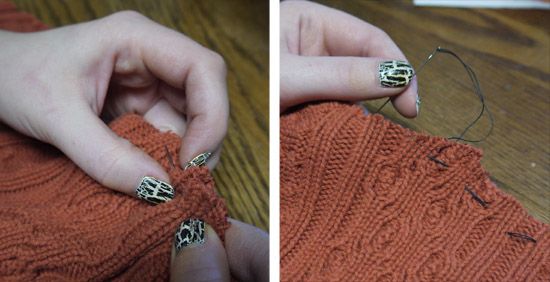
Next you'll want to grab a needle and thread and sew a simple straight stitch all around the outside edge of your circle.  You're basically making a big drawstring bag at this point.  Your stitches don't need to be anywhere near perfect - you won't be able to see when when you're finished.


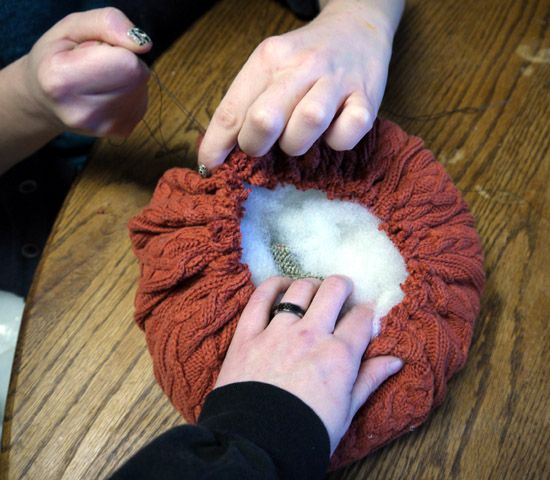
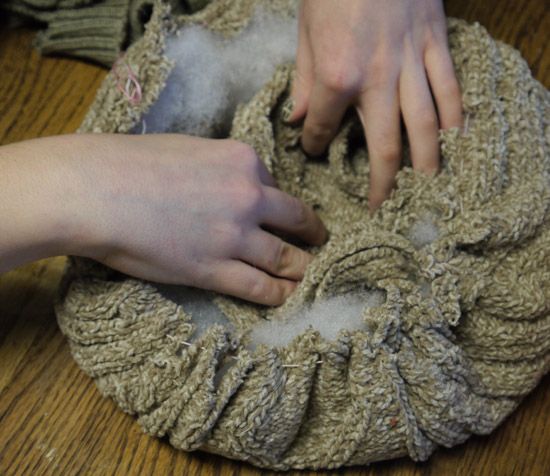
Now grab a ball of stuffing and stick it in the middle of your circle.  Start pulling your thread like a drawstring to pull the edges in around the stuffing.  This might be a two person job - it can be tough to pull it tight enough alone!


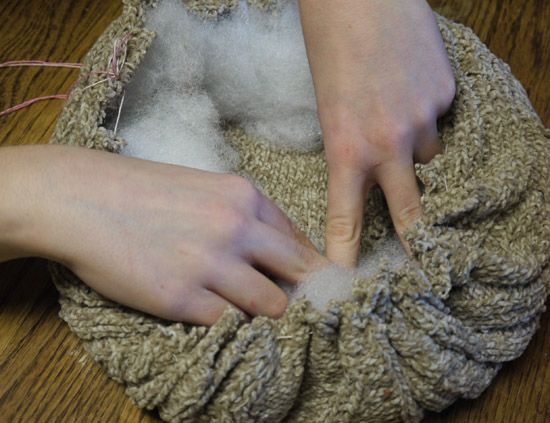
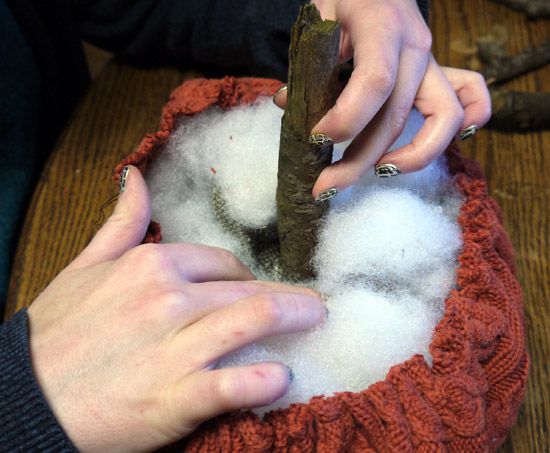
You can see that we stuck some sweater scraps from other pumpkins in there in addition to our stuffing - there are a few reasons for this.  Reason 1: why waste it when you can use it?  Reason 2: it added some weight to our pumpkins.  Reason 3: you'll go through less stuffing this way.  Reason 4: it creates a better base to support the stem.  We kept the scraps in the center and then padded it out with stuffing to make sure it kept the very soft, round shape we were trying to achieve.


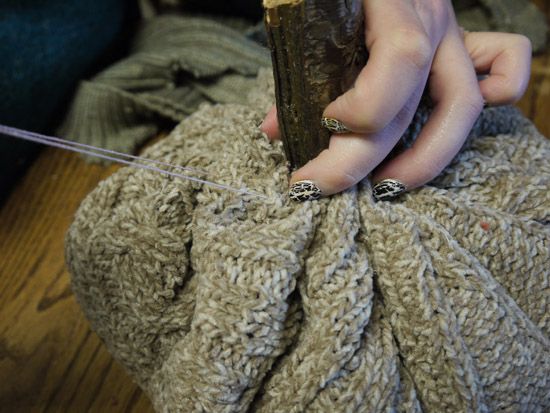
Regardless of whether or not you use sweater scraps as stuffing or not, your next step will be to add your stem.  Stick it right in the middle of your stuffing and then pull the drawstring thread tight.


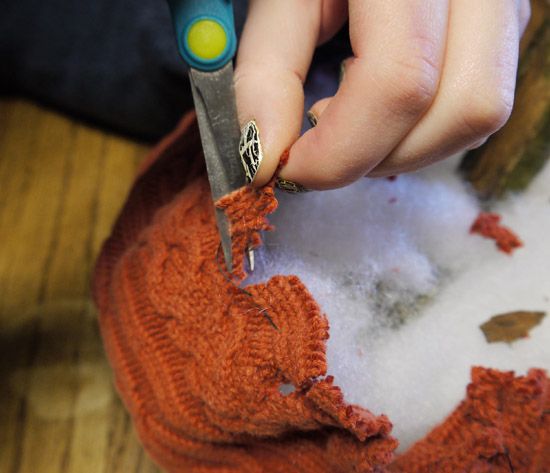
If your sweater is super thick like some of ours were, you might have a hard time pulling it tight enough to meet the stem.  This is easily fixed by trimming the excess fabric away from between your stitches.  Just keep trimming until you can pull it tight - you will not be able to see these cuts at all when you're finished.

sweater pumpkins

If you want to add some hot glue on the inside to keep everything in place you can, but we didn't bother.  Unless you're planning on carrying them around a lot, there really isn't any point.  And that's it - you're done!  Cheap and easy sweater pumpkins!

sweater pumpkins

I hope you enjoyed our foray into the world of crafts!


Tuesday, November 4, 2014

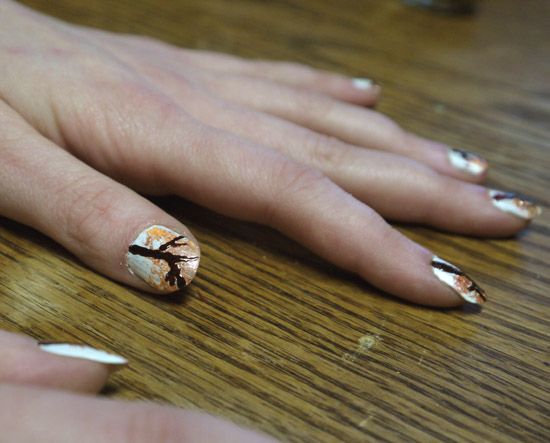
Autumn Tree Nail Tutorial

 Hello there!  Today I'd like to teach you how to paint sponged autumn trees on your nails.

Autumn Tree Nail Tutorial


1. Optional base coat
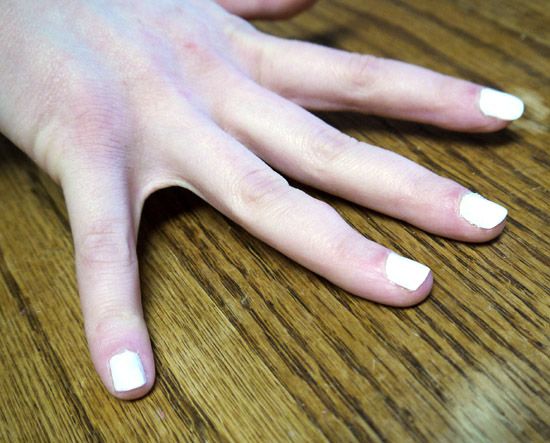
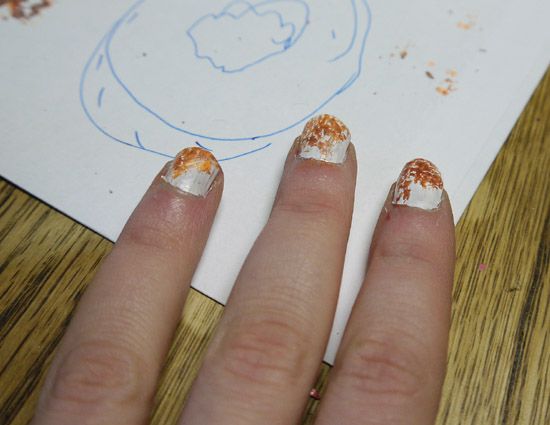
2. Apply as many coats of white nail polish as needed for a solid white.
 

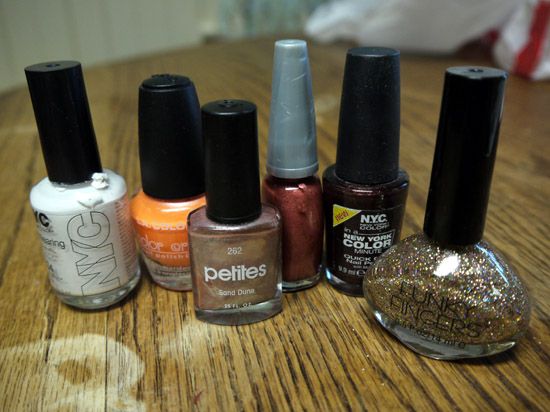
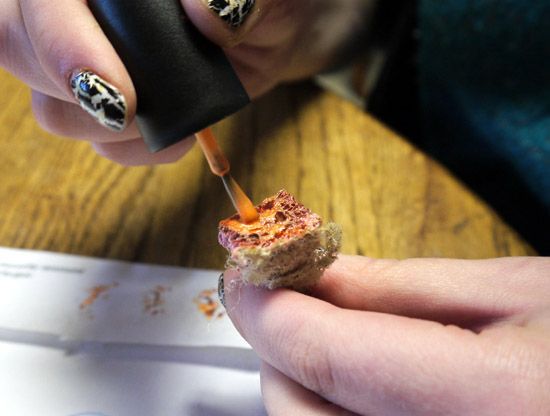
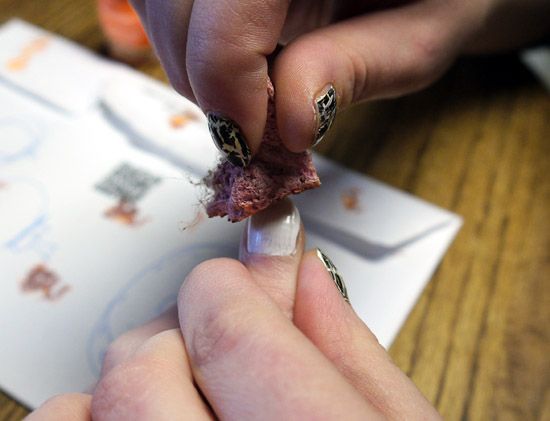
3. Apply autumn leaf colors (orange, red, brown, tan all are good choices) to a sponge.
 

4. Sponge the tip to middle of each nail to make the leaves.
 

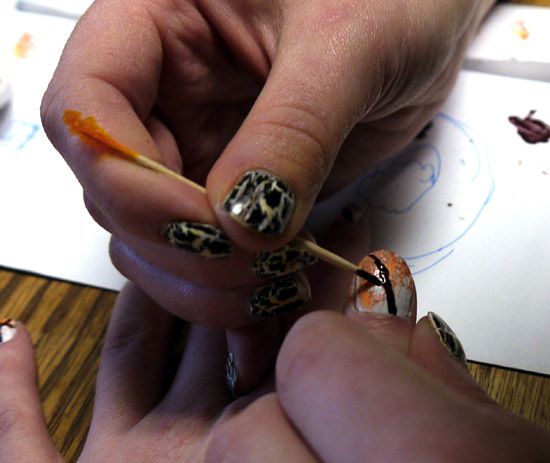
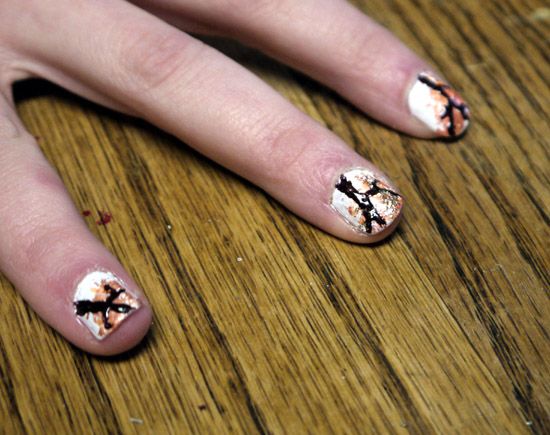
5. Apply a dark brown polish using a toothpick, line brush, or nail art brush to make the tree trunk and branches. Start at the base with a thicker line that tapers towards the tip like a tree. Make thin lines coming off into the sponged leaves for branches.
 

6. Apply more sponged leaves on top if desired.
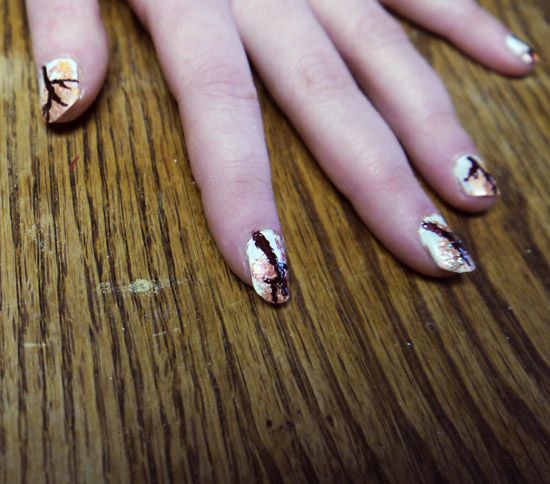
7. Apply gold sparkles on the leaves of one nail on each hand (like the ring or middle finger) or all fingers for extra sparkle.
 

8. Apply clear top coat to seal


Remember to let each coat dry completely before applying the new coat.
Use a q-tip with polish remover to clean up mistakes along the edges of nails

Wednesday, October 29, 2014

Meals With Mom - Graveyard Cake

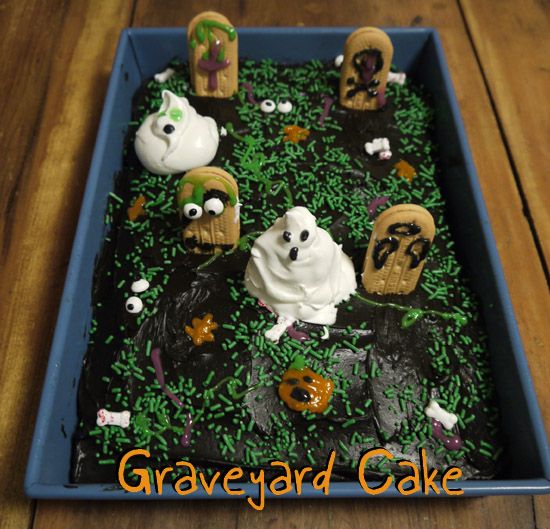
Welcome to the first installment of Meals With Mom - another new monthly feature here on Proper Wolf.  This month we are making a spooky graveyard cake for Halloween!


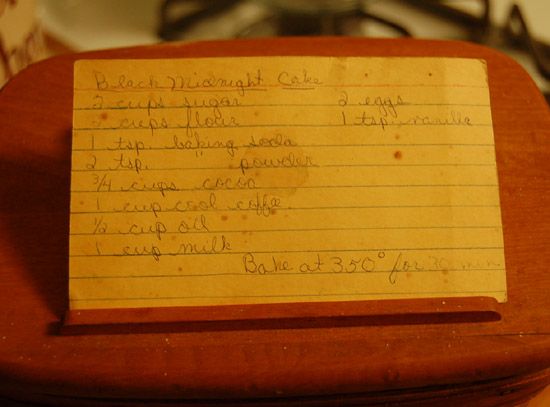
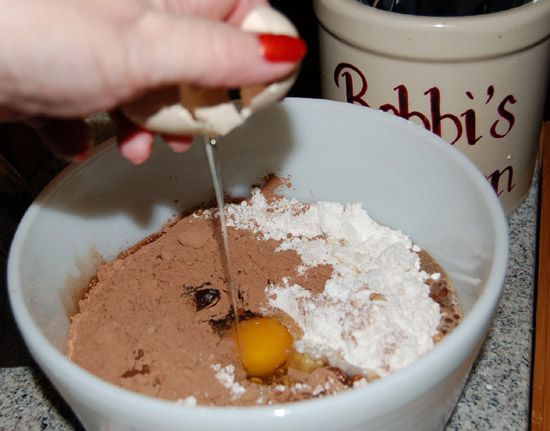
First things first, you'll need to make a cake.  We made a black midnight cake (which is an old Pennsylvania Dutch recipe), but you can pretty much use whatever kind of cake you like best. 


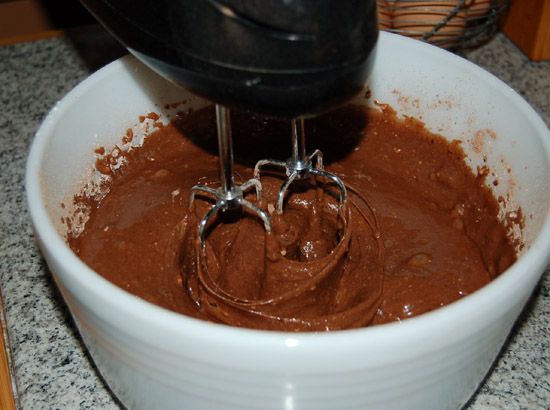
If you do decide to use this recipe for black midnight cake, keep in mind that your cake batter will be very watery.  That's okay, it's supposed to look like that.  Don't worry - you didn't screw anything up!


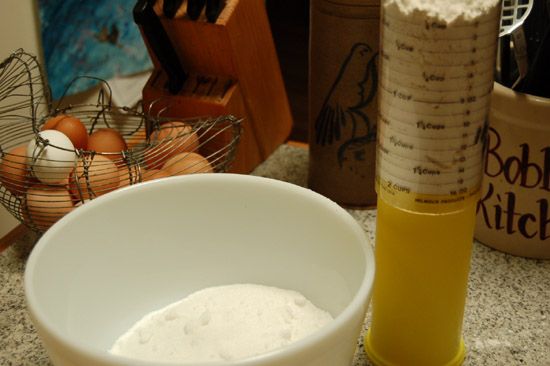
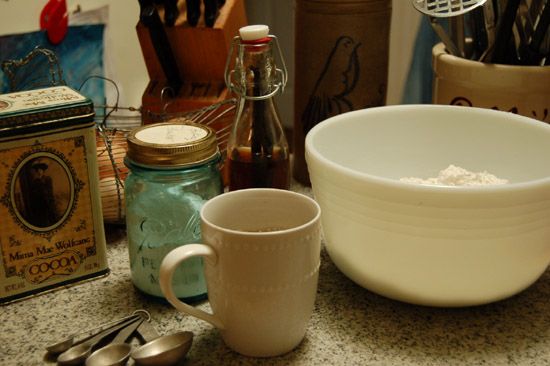
Don't our parents have the most beautifully rustic kitchen supplies?  I mean seriously - they've got homemade vanilla extract!
 

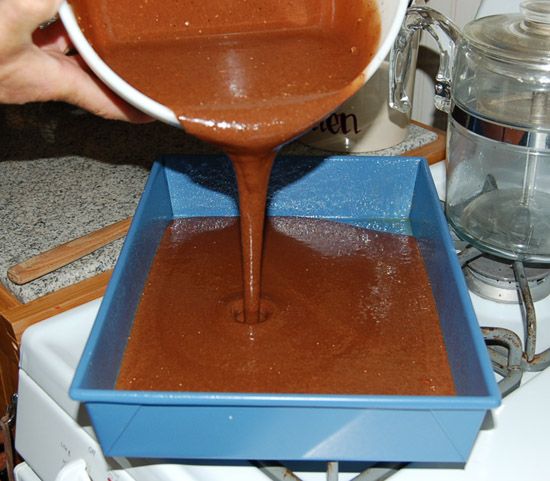
Okay, so now you've got a nice cake, fresh from the oven.


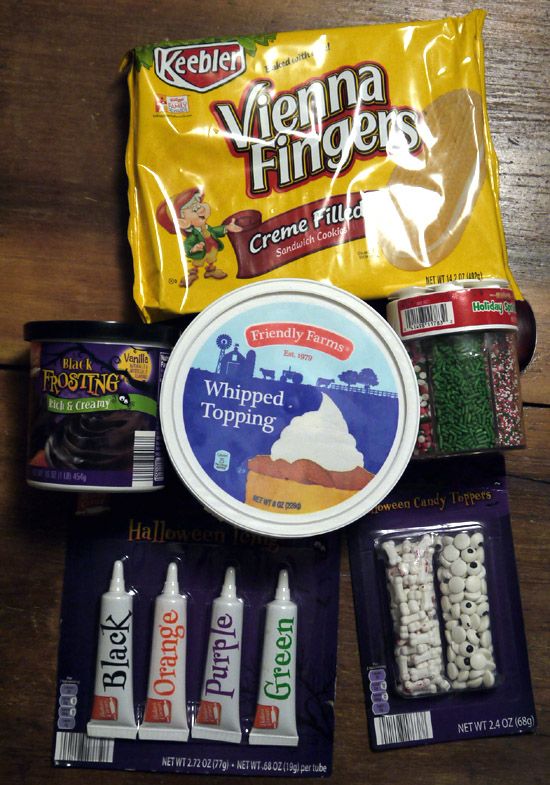
Go gather some cake decorating supplies.  You'll need, at the very least, some Vienna Fingers, whipped topping, and a base coat of icing.  We also got some tubes of colored icing and some decorative bones/eye ball candies at our local Aldi.


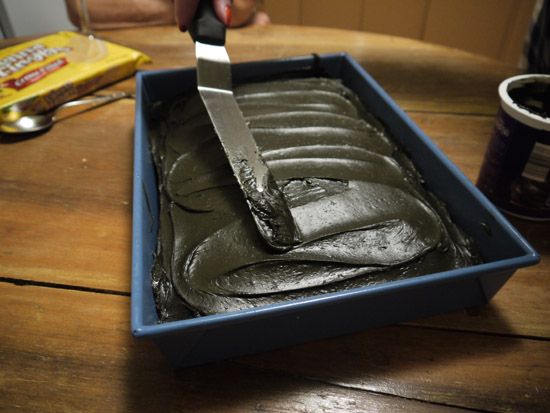
Now give that cake a nice thick coating of icing.  We used black, but you could use brown or green as well.  This is going to be the dirt for your graveyard.


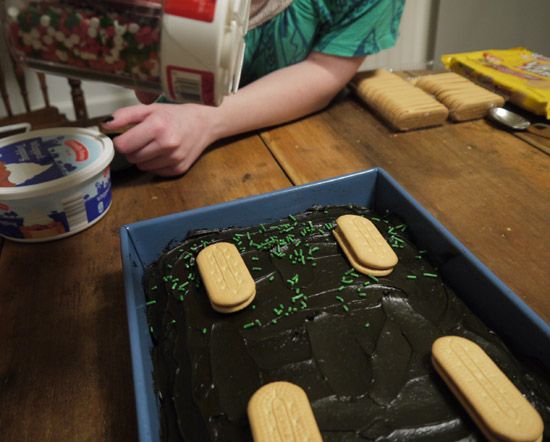
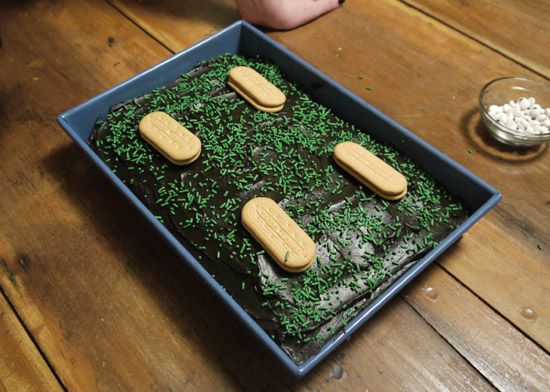
Next, add some grass.  We used green sprinkles/jimmies.


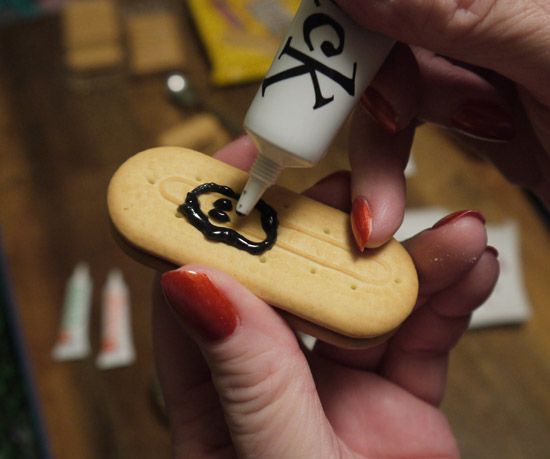
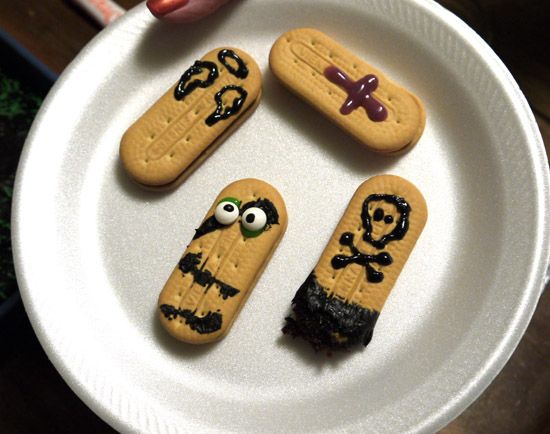
If you want to write on your "tombstones", that should be your next step.  We put them in the fridge so they'd harden up and not drip when we stuck them in the cake.


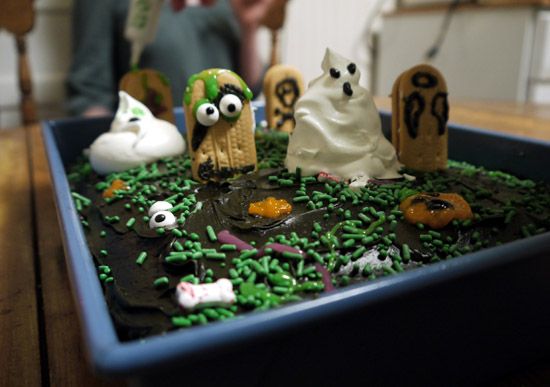
Decorate your graveyard however you like.  We made a pumpkin, some leaves, some vines, and some worms.  We also added some of the bone and eye ball candies.


Now add your cookie tombstones and a few dollops of whipped topping ghosts.  We painted faces on our ghosts with the tube of black frosting, and added creepy green and purple ooze to the tombstones.


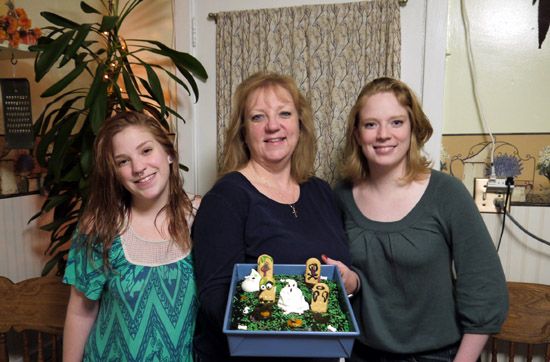
Ta-da!  You're finished!  Enjoy your creepy Graveyard Cake!